
1:35
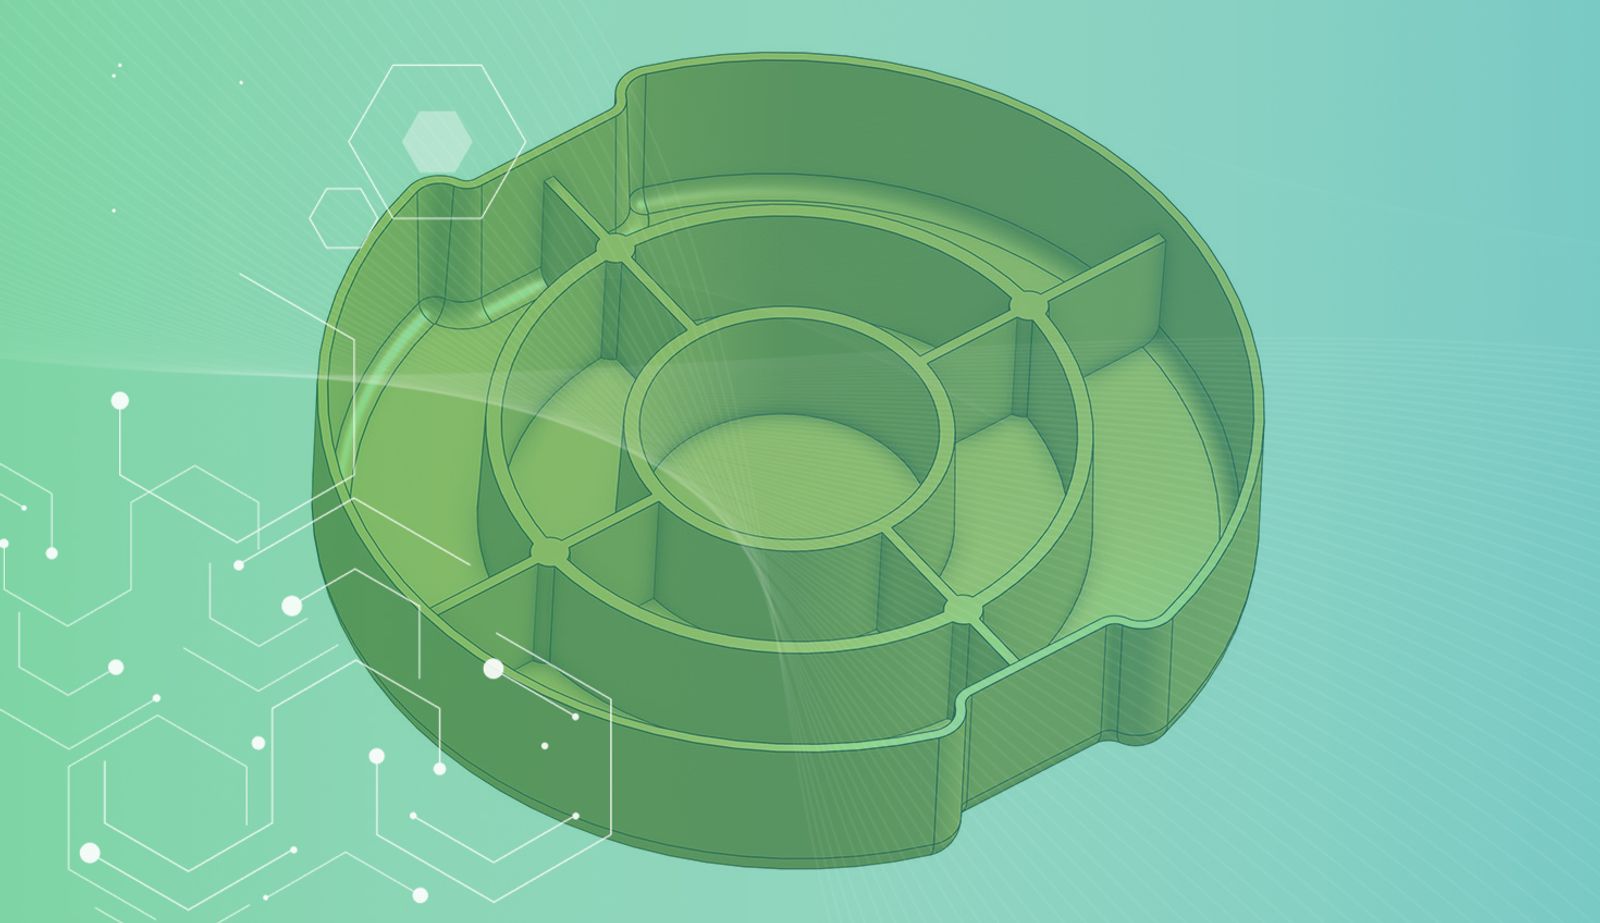
When designing parts, there can be many scenarios where you need to add structural ribs to your designs.
When manufacturing by injection moulding, it is essential to keep the wall thickness as consistent as possible to aid material flow and avoid defects such as warpage, sink marks, etc.. As it is not always possible to have exactly the same thickness everywhere, and other geometries such as large and flat areas can be problematic, you can design ribs and gussets to improve the mould flow and structural integrity of plastic parts.
The Rib feature is a fantastic way to create ribs quickly, especially on parts that have complex shapes or many ribs that intersect. But the Thin Extrude feature includes additional tools to make ribs suitable for moulding, like draft angle, and also offers a lot of flexibility on where and how to create your supporting sketches.
Where’s the Thin Extrude Feature?
Too easy, it is just nested under the Extrude feature!
How Can the Thin Extrude Feature Help Create Ribs?
Start a new sketch to design the location of your ribs or they could already be in the sketch of your main geometry. Select the Extrude feature and choose “Thin” to select the location of your ribs.
You have all the flexibility that the Extrude feature offers: two Extrude directions, End type, Starting offset, Symmetry, Draft, and a Second end position. All this makes it very versatile and can help you to speed up your design process.
Watch the video below for a demonstration of this Tech Tip.
If you would like to learn more about draft analysis and design for injection moulding, you can find more useful Tech Tips below.
Interested in learning more Onshape Tech Tips? You can review the most recent technical blogs here.
The Onshape Learning Center
Take self-paced courses, read articles, or sign up for an instructor-led training session.
Latest Content
- Blog
- Evaluating Onshape
- Electronics
- Integrations
- PCB Studio
How Onshape PCB Studio Pulls 3D Component Models Straight from Altium 365
05.21.2026 learn more- Blog
- Evaluating Onshape
- Collaboration
- Data Management
What’s the Difference Between File-Based and Cloud CAD?
05.20.2026 learn more- Blog
- Customers & Case Studies
- Arena PLM Connection
The Cloud-Native Workflow Behind Coco’s Next-Gen Delivery Robot
05.14.2026 learn more