
11:26
I’m a product design engineer and the co-founder of informal, a freelance collective of product development professionals around the world – including mechanical, software, and electrical engineers, marketing and branding experts, supply chain managers and vendors. We’re not a design agency. We match experienced talent to hardware clients to fill gaps in their teams and expand in-house capabilities.
One of the things I enjoy most about working at informal is the wide variety of assignments that I get to tackle across a diverse range of industries. One of our clients is Aloe Care Health, developer of the Smart Hub, “the world’s most advanced medical alert system.”
Designed in Onshape, the voice-activated Smart Hub is like a digital assistant for elder care. Users can connect directly with an Emergency Response Center 24/7 by voice or by pressing a button. Caregivers stay connected with real-time updates using a mobile app and can call their client directly through the Smart Hub. In addition, a pocket-sized Mobile Companion device can be carried inside and outside the home, including automatic fall detection with alerts for help.
The Aloe Care Health Smart Hub and mobile app.
Rethinking how elder care should look and feel for the 21st century, the Aloe Care team placed great emphasis on creating an ecosystem of products that were accessible, friendly, and intuitive. This philosophy extended to the design and development of their packaging as well.
Customer testing was critical during the development of the product and packaging
The Challenge of Designing Accessible Consumer Packaging
Given that Aloe Care's core customer demographic is prone to have mobility-related issues, and that caregivers were less likely to be around during a global pandemic, they were eager to create a packaging solution that was easy for older adults to unbox and set up independently.
Inspired by the accessible packaging efforts by Microsoft on their Xbox Adaptive Controller, pull tabs and easy-to-open flaps were added to all of the Smart Hub packaging. An additional cardboard tray was added to the Aloe Care Total Care Bundle with oversized handles to facilitate easy unboxing and removal of the individual boxes. These larger tabs and handles make grabbing and opening the packaging easier. Moreover, in line with the overall ethos of the brand, these details help the customer feel empowered from their very first interaction with the product, and less reliant on others for help.
Pull tabs on the inner tray of the Total Care Bundle and large helpful text make unboxing easy (early packaging prototype is shown here).
Generous finger clearance around the product was added in the paper pulp trays for easy unboxing for those with limited hand dexterity. Large, easy-to-read text is featured on the outside of the packaging to make it easy to identify each component of the Aloe Care ecosystem. Another strong goal for the packaging was to minimize waste and maximize recyclability, which resulted in the use of brown kraft boxes and natural paper pulp material being used throughout the product line.
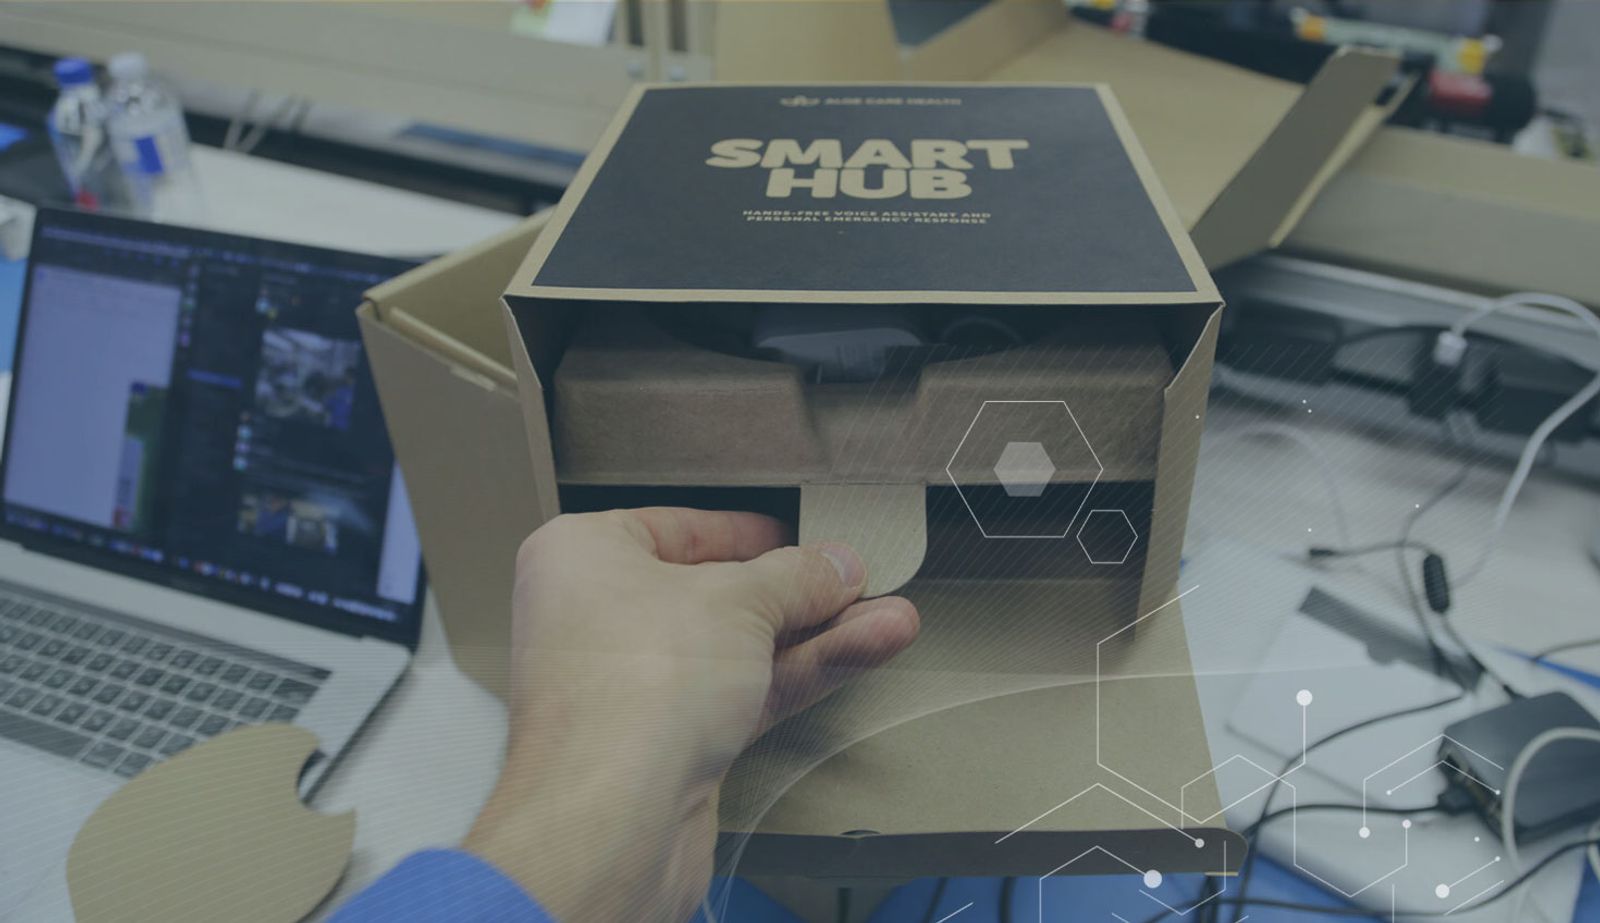
The Smart Hub’s accessible packaging includes big, bold text for easy identification, and large pull tabs for easy opening
Working with the informal design team, Aloe Care was able to accelerate their innovative packaging designs using Onshape’s Sheet Metal tools.
Onshape approached sheet metal design differently than competing CAD packages. Instead of requiring users to repeatedly unfold and fold their sheet metal design in order to add various features, Onshape simultaneously displays the flattened sheet metal view at all times. This enables faster design and development, reduces features in the tree, and provides real-time views of both the folded and flattened parts.
Informal used these tools to create cardboard boxes by adjusting the bend parameters and thickness to closely match the cardboard materials. Working in the context of the packaging Assembly in Onshape, our “sheet metal'' cardboard box was modeled to perfectly fit all the contents. Pull tabs and easy open lids were added to the boxes in the flattened view.
Final dielines for the Smart Hub packaging
Using Onshape’s Sharing feature, our latest cardboard box concepts were shared quickly with the Aloe Care team for design reviews and feedback. DXF files of the flattened designs were then sent to a laser cutter to quickly prototype and test in-house.
With the design validated, the DXF files were shared with the Aloe Care team to generate artwork for the dielines and sent to informal’s packaging vendor for manufacturing. The result is a packaging experience that is inviting to users of any age and ability, one that ensures the unboxing and onboarding process is seamless and enjoyable.
An exploded view of the Aloe Care packaging modeled in Onshape and rendered in RealityServer.
A similar method was used to generate a sleeve to contain the various legal booklets and instructions for the Aloe Care bundle. In this case, parameters were used to define the total stacked thickness of the guides and the desired material thickness of the cardstock. By adjusting the clearance between the guides and the envelope, informal was able to dial in the perfect fit.
The Aloe Total Care Bundle consists of a Smart Hub, two Motion Sensors, a Fall Sensor, and an RF transmitter pendant. All of these components are housed in their own packaging for individual retail, but are packaged into one mailer box for the bundle. It was imperative that the same accessibility considerations were applied to this larger box so anyone could easily open it, regardless of dexterity limitations.
The team settled on a design with a large front flap and inner tray with handles, providing an easy surface to grab and open, and large hand-holds to pull the products out of the mailer box. A render of the entire packaging design was made in RealityServer and sent to the team at Aloe for approval. Using Onshape’s "Move Face" command made it easy to create configurations with the box flaps rotated open and closed, to share screenshots and renders.
Exploded view of the Aloe Care Total Care Bundle made in RealityServer
Onshape’s Simultaneous Sheet Metal tools are a powerful way to quickly create mockup packaging for prototyping and testing, and for generating dielines for adding artwork. These CAD models are also fantastic for creating product renders and sharing design intent with the rest of the team. (Note: Working directly with a packaging vendor is still recommended once you are ready for production, as they have years of experience tweaking the perfect fit and finish of your packaging.)
Next, I’ll walk you through the steps on how to make your own packaging in Onshape using its Sheet Metal tools. Let’s dive in!
How to Design Cardboard Packaging in Onshape
- First, place all your components in their packaged position into an assembly. Here, we have two paper pulp trays, some guides and an accessory box.
- Create a new part in the context of this assembly. In this new Part Studio, create a bounding box around the parts to create the inside dimensions of the packaging. Add a small amount of clearance on all sides (using a variable) to ensure everything can slide in and out without too much force. 0.5mm is a good starting point.
- Use a variable to define the material thickness as well, as this will come in handy later when making adjustments for the packaging flaps.
- Use this customizable dieline creator to pick out the box type you are interested in recreating. Note that there are many variations of the same dieline, alternating where the fold line sits. Ultimately, you will want your sheet metal flat pattern to be as close to this dieline as possible.
In the image below, numbers were added to each flap to indicate the order in which they are folded to form the box. This will come in handy later when adding the flaps to the sheet metal model.
- Looking at the dielines, it is apparent that there is a flap that needs to be adhered to the inside of a face during the assembly of the box (#4 in the image above). To account for this overlap, select the left face of the box and make sure to move it outwards by the variable for cardboard thickness. Apply the same Move Face command to the front and back faces of the box to accommodate for the inner flaps (#1). This will ensure the inside dimensions are not impacted by the overlapping joint.
- Using the Sheet Metal tool, convert the bounding box. Set the inner radius to a very small value like 0.05 mm, as cardboard folds onto itself and doesn’t stretch like sheet metal. The K value can stay at the default value of 0.5. Make sure to set the thickness to the variable defined above.
- NOTE: This is where it comes in handy to have a reference dieline selected. The goal is to get your flat pattern to represent the selected dieline. Selecting different edges to include on your sheet metal part will yield different flat patterns, so feel free to experiment until your flattened view looks right.
- Now that you have the basic flat pattern in place, it’s time to detail out the flaps. We know that there is an order to fold the box and need to move some faces to make sure the folded flaps don’t interfere with each other. To ensure the model can flatten correctly, move faces by the cardboard thickness variable plus a small clearance of 0.25mm. (Pro Tip: Setting a new variable here for bend clearance will save time moving forward, as you will be doing this frequently.)
Since this step can get confusing let’s take it one bit at a time. Refer to the labeled flat pattern if needed. - Let’s start with the Rear Inner Flap (#5). First, move the face of the bottom, left and right edges by the cardboard thickness + 0.25mm distance.
Then, use the sheet metal tool to add an edge flange up to the top surface with some clearance (I used 1mm). For reference, your flattened pattern should now look something like this:
- Next, add the side flaps (#1 as indicated in the above image). We will use a similar method of using the Move face and adding a flange here. This time, move the faces of the left and right flaps by the same distance of cardboard thickness + 0.25mm.
10. Then, add a flange of around 1/3 of the total length. You can adjust this as needed to add more support to the box at the expense of ease of assembly and removal of the product. Now, the flattened pattern is starting to closely resemble the dieline.
11. Next, use the same technique to create the front flap. We will move the bottom face of the flap up to add clearance, and then add an edge flange to create a flap inside the box.
12. Things get a little bit trickier when adding the adhesive flap to form the box. Since a few folds have been added to this sheet metal, it is easy to accidentally cause interferences with the model. In order to avoid this issue, we will sketch on the flat pattern of the box and cut away some material. This is a great trick when you need to define an edge flange that cannot extend to the end of an edge. Simply cut away a bit of material from the edge and then use the newly created edge to make your flange.
Before we add the edge flange, we need to clear some space internally. The front locking flap will interfere with any more material we add, so first we need to shift this over by our handy variable of sheet metal thickness + 0.25mm.
From there, add a 25mm or so edge flange off of the bottom left edge to create flap #4. Your dieline should look something like this. Pretty close to the dieline, but not quite there!
13. The last step is to clean up our dieline and add in details for the locking tab. To do this, we will sketch on the flat pattern directly. First, we will add a 30-degree chamfer to the glue tab to prevent an interference with the other flaps and any parts sliding inside the box.
Next we will detail out the front flap, adding a full radius and a cut on the bend line to facilitate better locking.
Finally, we will modify the two inner flaps near the lid. These will be angled to make it easy for the flaps to open when the product is pulled out of the box. We will leave some additional material for the top flap to latch in place. This may take some trial and error to dial in the perfect fit.
Comparing our completed flattened sheet metal and the reference dieline, you can see we’re ready to prototype!
Try Designing Your Own Packaging in Onshape
Onshape’s versatile Sheet Metal tools are a very flexible and powerful weapon in your design arsenal that can be used whenever you need to create flattened versions of folded components. I have also had great success using the Sheet Metal tools to create flexible printed circuit boards, for routing flat flex cables through tight enclosures, and for paper wraps around USB and power cables for packaging. When coupled with a laser cutter, you can quickly iterate and refine your flexible parts and packaging designs.
Want to take a closer look? Informal has publicly shared a version of this packaging as a configurable Part Studio here. Give it a try yourself!
(Sam Holland is a Product Design Engineer and the co-founder of informal, a worldwide freelance collective of product development professionals.)
Latest Content
- Blog
- Becoming an Expert
- Assemblies
Built to Scale: Why Large Assemblies Don’t Slow Down in Onshape
07.16.2026 learn more- Blog
- News from Onshape @ PTC
- Artificial Intelligence
Onshape Labs: AI in CAD Guided by Designers, Driven by Innovation
07.15.2026 learn more- Blog
- Evaluating Onshape
- Data Management
- Collaboration
- Artificial Intelligence
How the Most Underrated CAD Feature Improves Design Workflows
07.09.2026 learn more