
2:37
Last week’s Tech Tip was about using textures and blends in Render Studio. This week’s tip will show you how to apply heat-treated metal to a rendered model using Onshape.
Note: Initially, Render Studio will be offered as a beta capability as the experience and tuning of the offering is optimized. During this beta period, Onshape Professional and Enterprise users will automatically be given access to Render Studio.
Build/Import a 3D Model to Work With
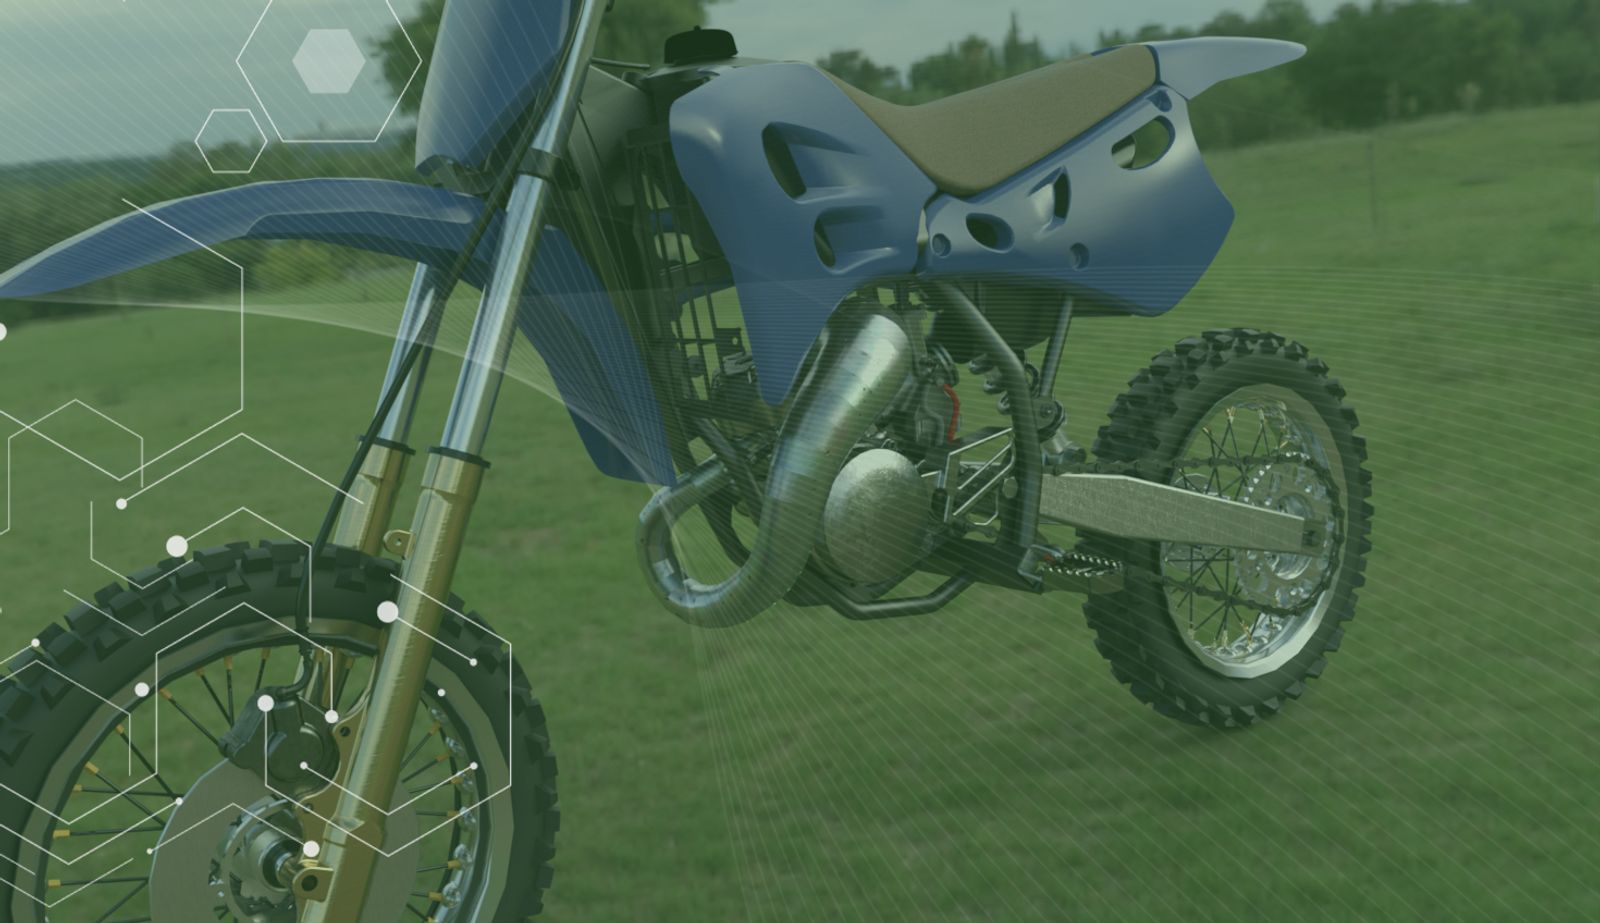
The first step is to import or build a model to which you want the heat-treated metal applied. In this example, we have imported this dirt bike model and we want to apply heat-treated steel to the exhaust pipe.
Now you can create a new empty Render Studio tab to start rendering your model. Click on the plus sign (insert new) in the tab bar and select “Create Render Studio.”
The Render Studio dashboard opens without scenes by default. Click the Create button to make your first scene and select the Part Studio or Assembly you want to render.
Select the Parts/Surfaces to Render
Once your model has been imported, select the parts/surfaces in the scene to which you want the steel applied. Let’s select the exhaust pipe.
Finding the Right Material to Render
Do not hesitate to use the search tool whether you’re looking for a certain material or appearance. You will save a lot of time.
The material we need for thermal treatment is pitted steel. You can search for “PITTED” and then apply the material to your parts or surfaces.
Below is the result you should get.
If necessary, you also have the option to remove the pits. To do that, go to the Appearance panel's Adjustments submenu. Set the Scale to 0.050 x by 0.050 y, and Rotate to 20.000. This transforms the pitted steel into a smooth and shiny metal. (Note: The values might change depending on the size of your model.)
Apply Heat Treatment
Still in the Appearance panel’s Adjustment menu, you will find a Heat Treatment Amount field in the Appearance section. Feel free to try different values to get to the desired result (0.9 in the example).
BONUS TIP: When an appearance is applied to a part or face in a scene, it is placed in the Scene Appearances folder at the bottom of the Appearance Library folder list. This helps keep track of appearances used in the scene. It also allows you to apply the same appearance to multiple parts.
When any part or face that uses the appearance is selected, and its appearance edited in the Appearances panel, all other parts and faces using the appearance are also updated. This saves you from having to individually update each part or face appearance.
A good practice is to rename the appearances you are using to be able to find and reapply those later. As you can see in the image above, we have renamed most of the appearances we have been using to “screws”, “Rims”, “Brake Disk”.
Interested in learning more Onshape Tech Tips? You can review the most recent technical blogs here.
Latest Content
- Blog
- News from Onshape @ PTC
- Artificial Intelligence
Onshape Labs: AI in CAD Guided by Designers, Driven by Innovation
07.15.2026 learn more- Blog
- Evaluating Onshape
- Data Management
- Collaboration
- Artificial Intelligence
How the Most Underrated CAD Feature Improves Design Workflows
07.09.2026 learn more- Blog
- Evaluating Onshape
- Collaboration
With Cloud CAD and PDM, Flexible Design for a Summer Coolcation
07.02.2026 learn more