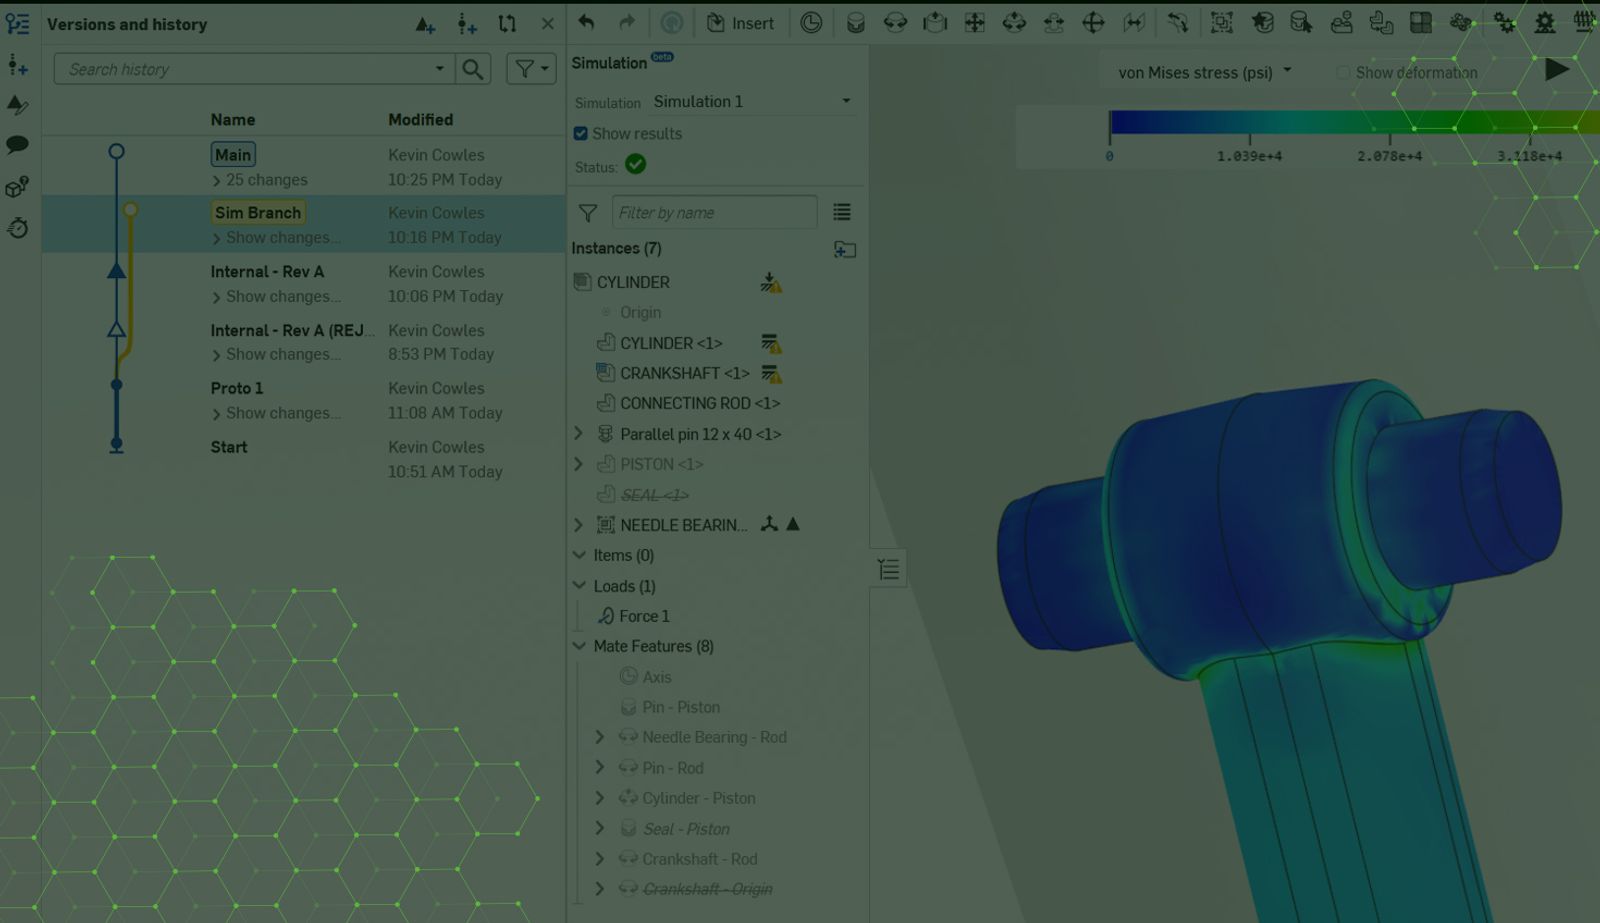
4:15
When engineering workflows require the use of Simulation, there is often a disconnect between the “Production Model” and the “Simulation Model.”
This may take the form of geometric simplification, suppression of parts, or additional assembly constraints. It also may be a separation of personnel; a literal handoff of files from designer to analyst. This disconnect means that most simulation is done outside the system of record (traditionally PDM) resulting in copies of files, duplication of work, and very slow design iteration.
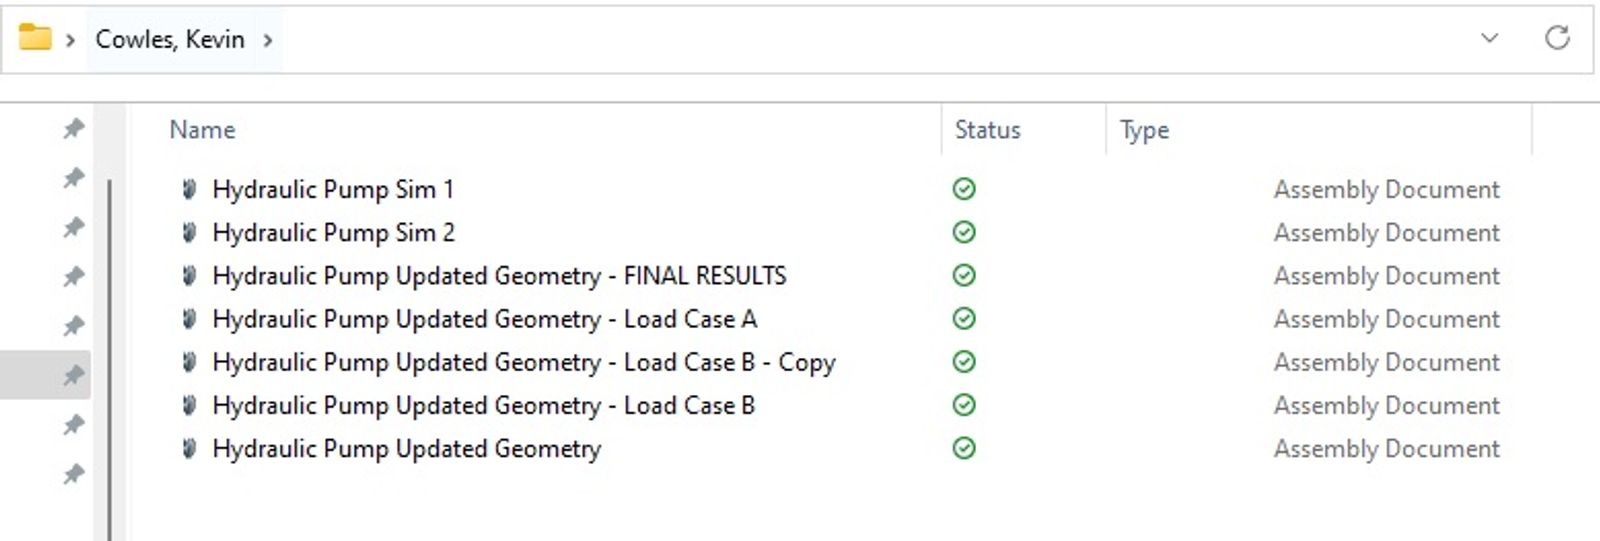
If the cluttered folder above looks familiar, you are experiencing the inefficiencies of file-based simulation.
While Onshape does minimize the setup required to run an analysis, there are still many circumstances where a modification of the assembly is inevitable.
Fortunately, Onshape’s integrated data management provides an agile framework to keep design and analysis in sync. By setting up the simulation in a Branch and using the Merge tool to implement selective updates, teams can efficiently and collaboratively iterate in a single Onshape Document.
Setting Up a Simulation Branch
An Onshape Branch allows you to create parallel workspaces for iteration early and often in the design process. Once you have established a Version, right-click on it and select Branch to create a workspace.
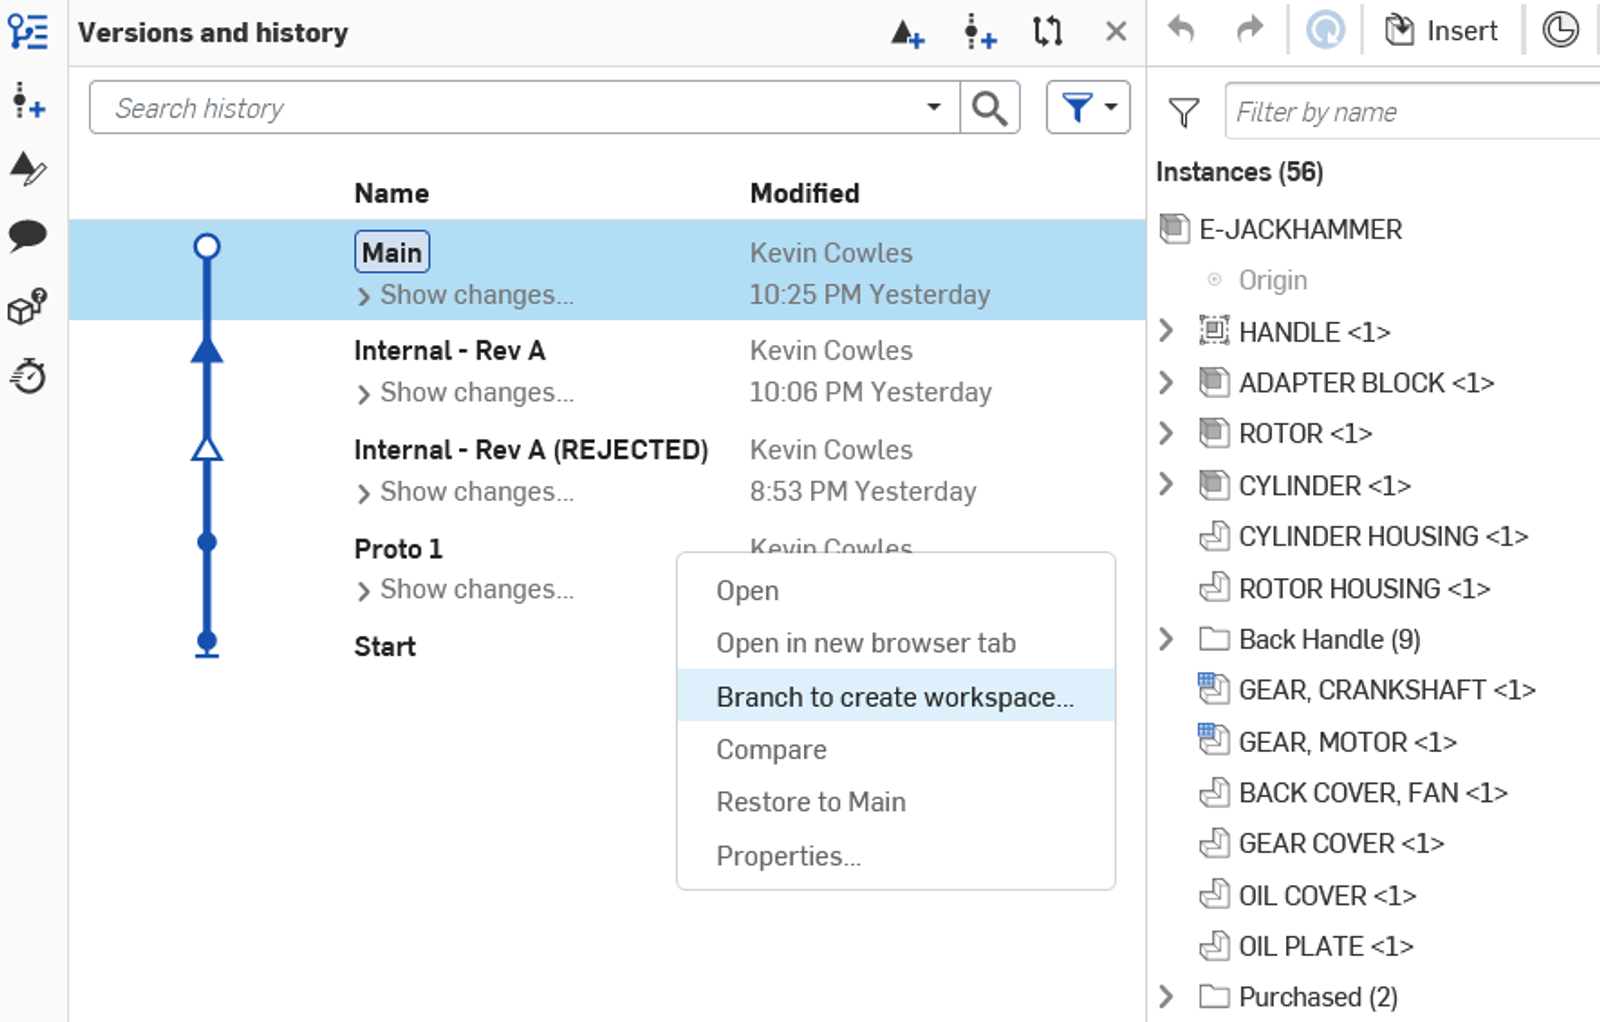
For the E-Jackhammer Assembly, shown above, you are tasked with running a static analysis on the Cylinder subassembly. However, you do not want to disrupt the mate animations that propagate to the top-level assembly. Setting up this static analysis in a Branch allows you to preserve the proper degrees of freedom in the Main Workspace while over-constraining that particular subassembly in the Simulation Branch.
With the freedom to non-destructively iterate in the branch, you can now make the necessary changes to set up a linear static analysis of the Cylinder Assembly. In this case, you fix an additional part, suppress a part to ignore it in the simulation, suppress an unneeded Mate, and add a Force load. Setting this up in a Branch ensures a statically determinate simulation without impacting the relations in the Main workspace.
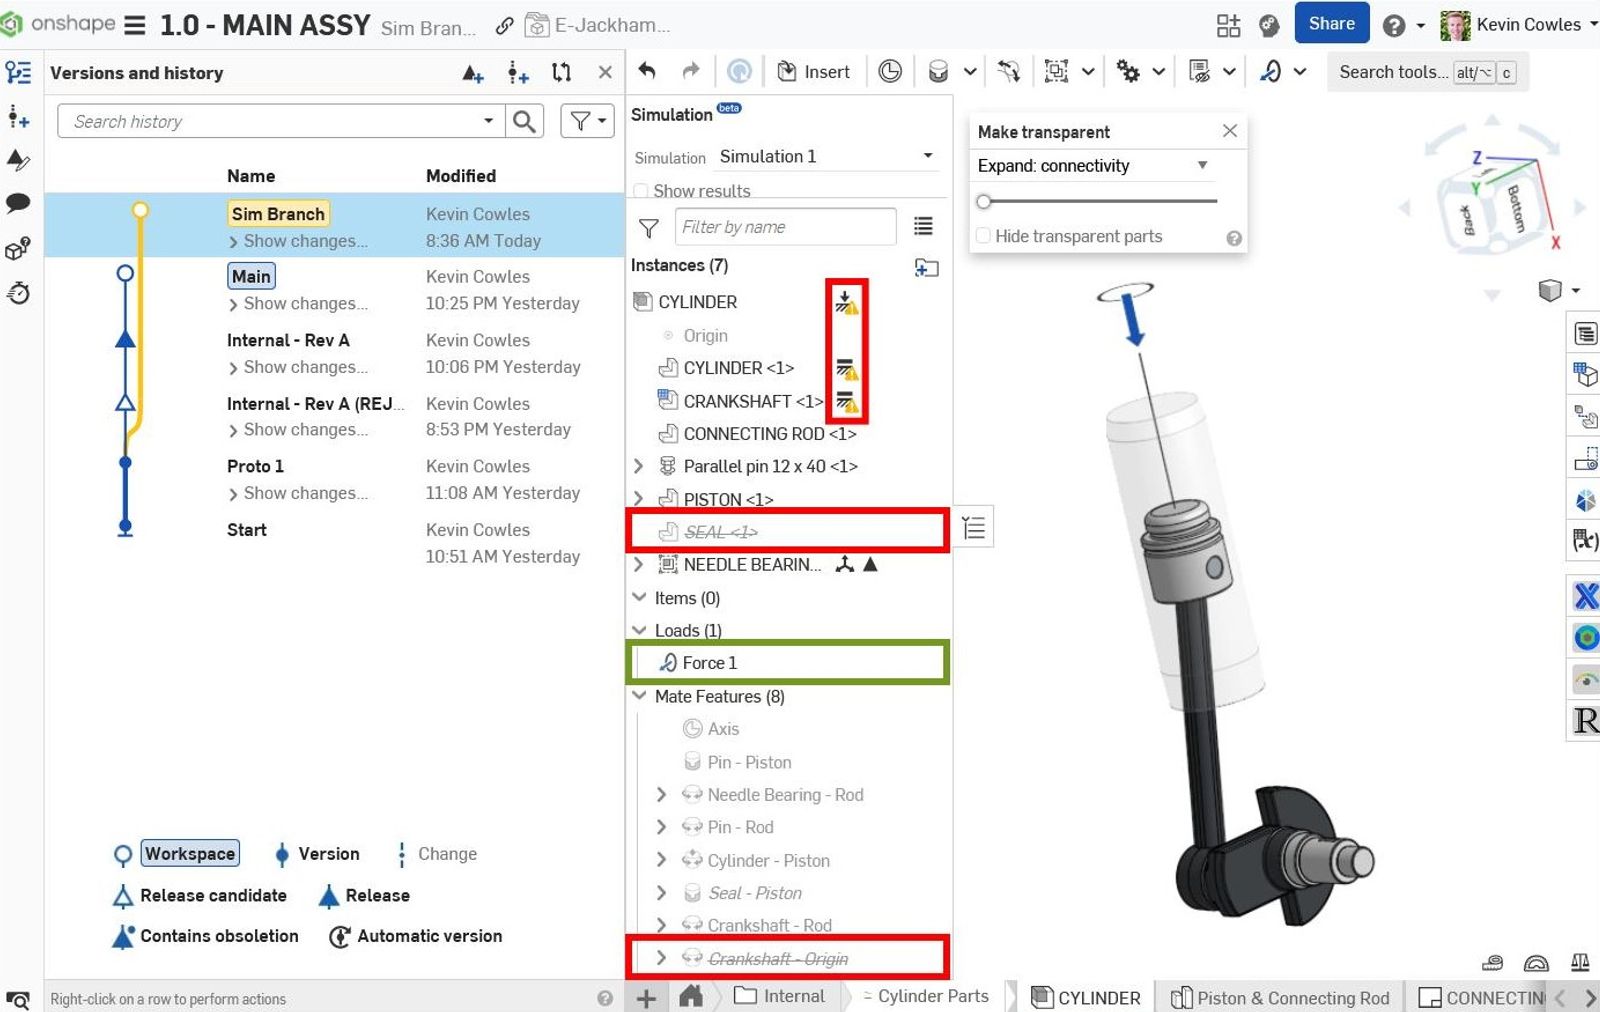
Because Onshape Simulation automatically infers the degrees of freedom from the Assembly Mates, no additional setup is required to analyze the model. And since you are still working in a single Onshape Document, it is easy to capture and share the results with the rest of your engineering organization.
Communicating Simulation Results
Onshape is best-in-class in terms of collaboration tools, and running static analysis in a branch makes it incredibly easy to communicate the results of your analysis. Share results directly with any Professional or Enterprise plan user. All users shared into the Document can also use the Comments panel to capture and markup results, shown below as an example.
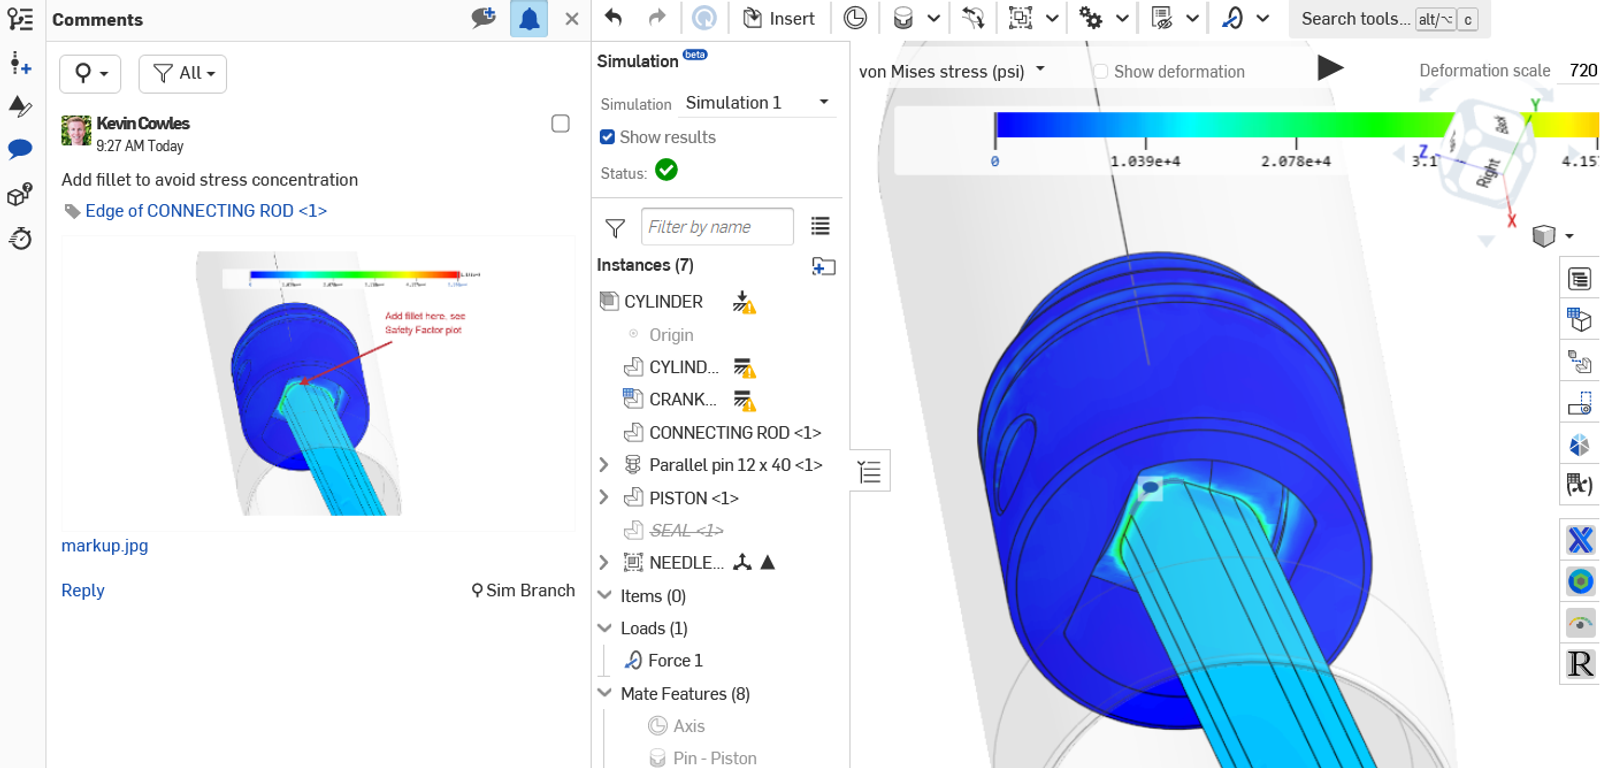
Additionally, just as you can run simulations in a Branch, you can also view results in Versions and microversions. Adding a version on the branch is a great way to pinpoint crucial simulation results in the design timeline and allows you to add local comments to that version. Use the dropdown at the top of the Comments panel to view feedback across the entire Document or continue to view what is associated with the active Workspace/Version.
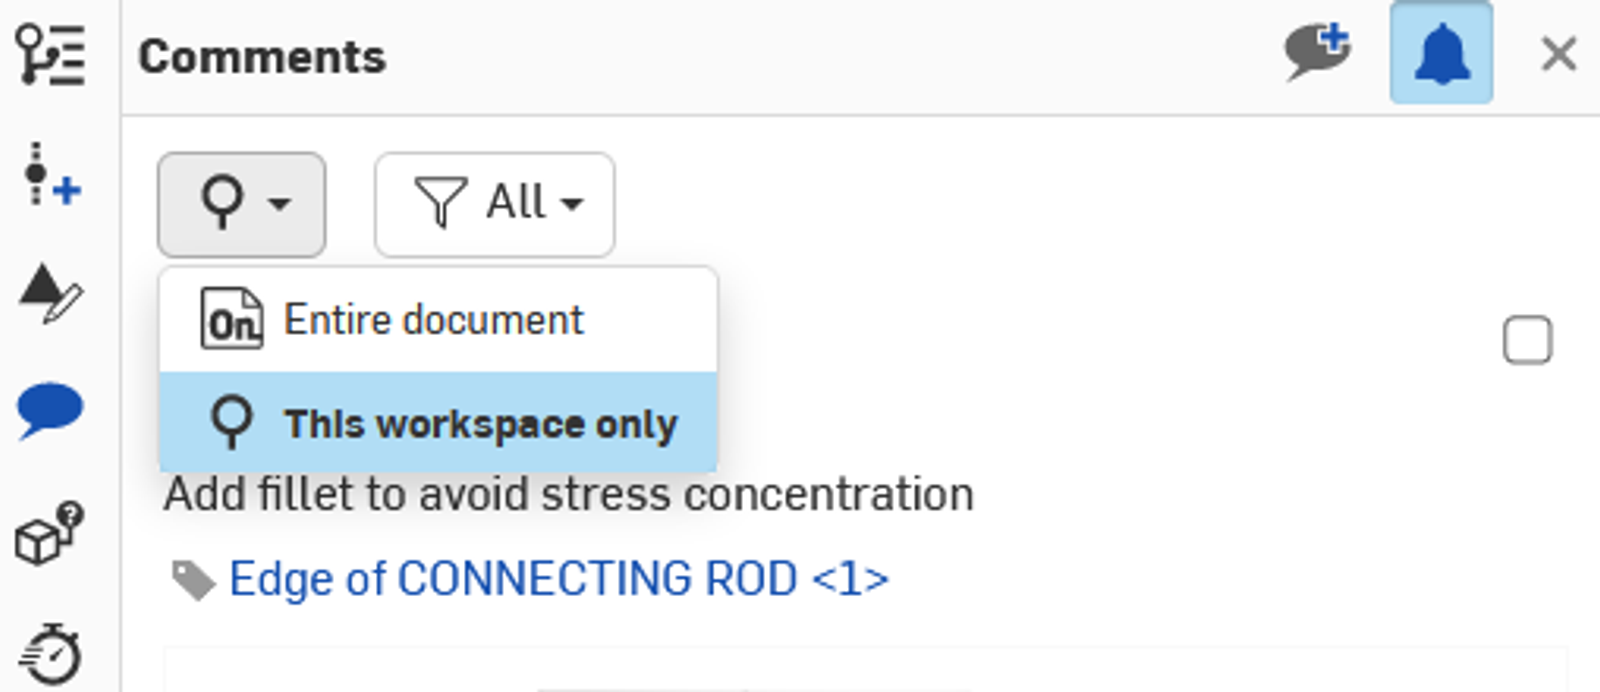
By collaborating in a single Document, Onshape bridges the divide between simulation and design engineers, making it easier to solve problems efficiently.
Selectively Merging Design Updates
Finally, the Merge tool lets your simulation branch stay in sync with the latest design updates.
It is common to see changes merged from a branch back to the Main Workspace, but you can also merge changes in the other direction.
To preserve the assembly alterations in the simulation branch, you can selectively merge only the updates you need. From the simulation branch, right-click the Main Workspace, choose Merge into the current workspace, and select the Keep Sim Branch as the Overall merge strategy.
Then, in the Tabs table below, identify the tabs where geometry has been updated, and under the Tab merge strategy column, select either merge or replace changes from the dropdowns. There are many different merge strategies that you can use; iterate to find the best approach for your use case. Use the Restore process to revert the merge.
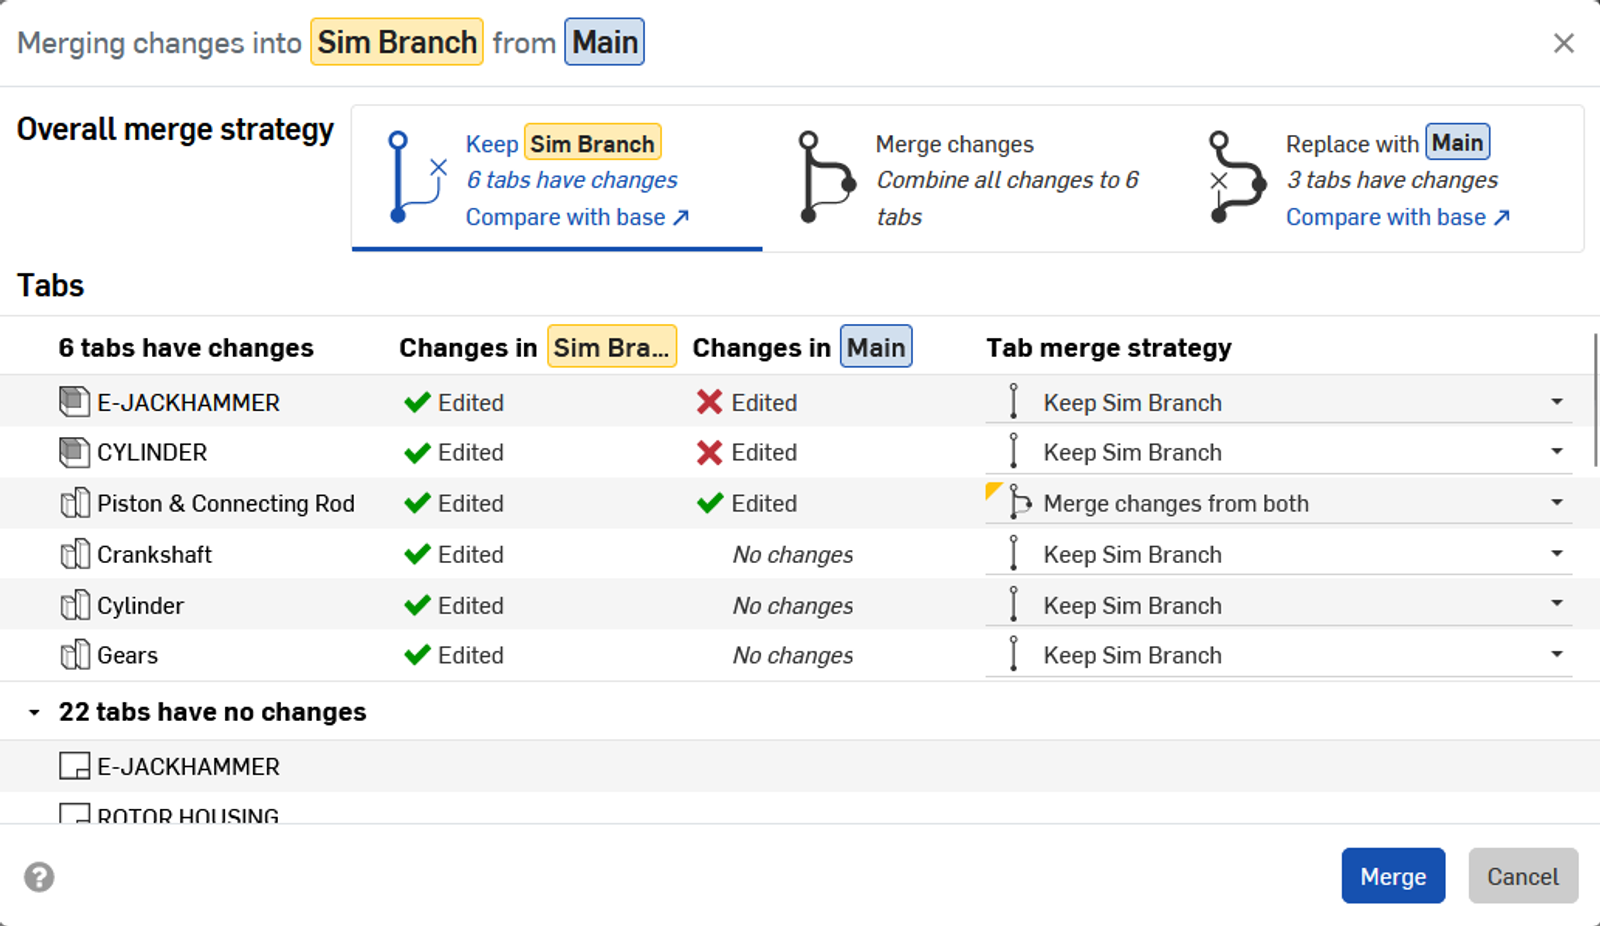
Merging to the branch allows you to stay abreast of changes without any duplication of engineering effort, and you can also iterate in the simulation branch and selectively merge changes back to the Main Workspace.
This strategy maintains production and simulation work in parallel, with visibility across the engineering organization as data is versioned, branched, and released. Only Onshape supports this agile workflow, keeping data and people connected throughout product development.
To see a walkthrough of the whole workflow described above, watch the video below:
If you want to discover more about what makes Onshape Simulation unique, try it yourself. Get instant access to up to 6 months of Onshape Professional for free, including Simulation, Rendering, Release management, and more.
For tutorials on these advanced features, search for them in the Onshape Learning Center. Are you interested in learning more about Onshape Tech Tips? You can review the most recent technical blogs here.
The Onshape Discovery Program
Learn how qualified CAD professionals can get Onshape Professional for up to 6 months – at no cost!
Latest Content

- Blog
- Becoming an Expert
- Sheet Metal
Two Views, One Model: Faster Sheet Metal Design in Onshape
02.12.2026 learn more
- Blog
- Customers & Case Studies
- Collaboration
- Consumer Products
RigStrips Boosts Design Speed Using Onshape's Collaborative Tools
02.11.2026 learn more
- Blog
- Becoming an Expert
- Features
- Data Management
How Onshape's Repair Tool Fixes Broken References
01.29.2026 learn more


