
01:19
Many of the features you usually would use to remove the instances of a pattern, such as Boolean or Delete Face, don’t work with sheet metal parts.
If you want to use these features, you have to finish the sheet metal part, which means the holes still show in the flat pattern.
To avoid this, use the “Move face” tool instead. Select the inner face of the hole and choose “Offset”. Make sure the “Distance” is at least the diameter of the hole.
Note: These methods do not work on holes created by the Hole feature.
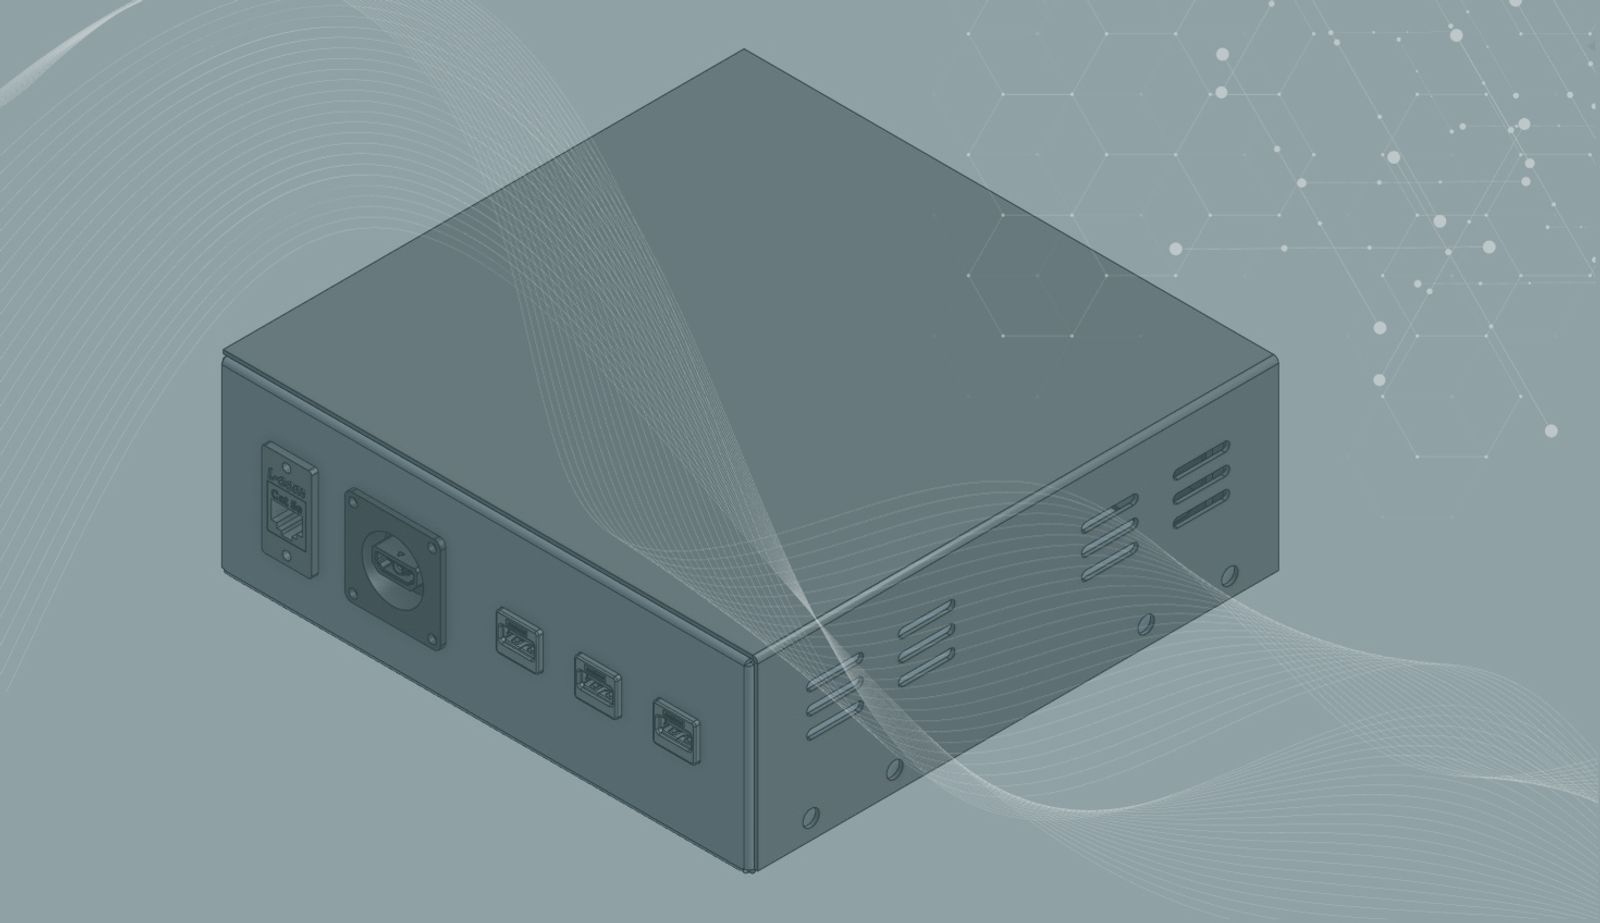
Does your model have irregular cutouts like the vent holes below? Use the “Tab” feature instead! Make a sketch that covers the cutouts you wish to eliminate.
Start a new “Tab” feature. Select the sketch from the Feature list and it will automatically populate the “Flange to merge”. The “Subtraction offset” should be zero.
Watch the video below for a demonstration on how to put this Tech Tip into practice.
This Tech Tip helped you learn how to remove holes or cutouts from a sheet metal model without having to apply the Finish Sheet Metal Model feature.
Check out the instructor-led course on Simultaneous Sheet Metal to learn more about the best ways to utilize sheet metal features. Or, peruse older Tech Tips to discover more sheet metal best practices.
- テクニカルヒント: Onshape でシートメタルパーツを仕上げる方法
- テクニカルヒント: レガシーシートメタルの Onshape での変換
- テクニカルヒント: Onshape の面の分割フィーチャーをシートメタルに使用する方法
- Tech Tip: Using Surfaces for Sheet Metal Models
Interested in learning more Onshape Tech Tips? You can review the most recent technical blogs here.
最新コンテンツ
- ブログ
- Becoming an Expert
- アセンブリ
Built to Scale: Why Large Assemblies Don’t Slow Down in Onshape
07.16.2026 もっと見る- ブログ
- News from Onshape @ PTC
- Artificial Intelligence
Onshape Labs: AI in CAD Guided by Designers, Driven by Innovation
07.15.2026 もっと見る- ブログ
- Evaluating Onshape
- データ管理
- 共同作業
- Artificial Intelligence
How the Most Underrated CAD Feature Improves Design Workflows
07.09.2026 もっと見る