
0:49
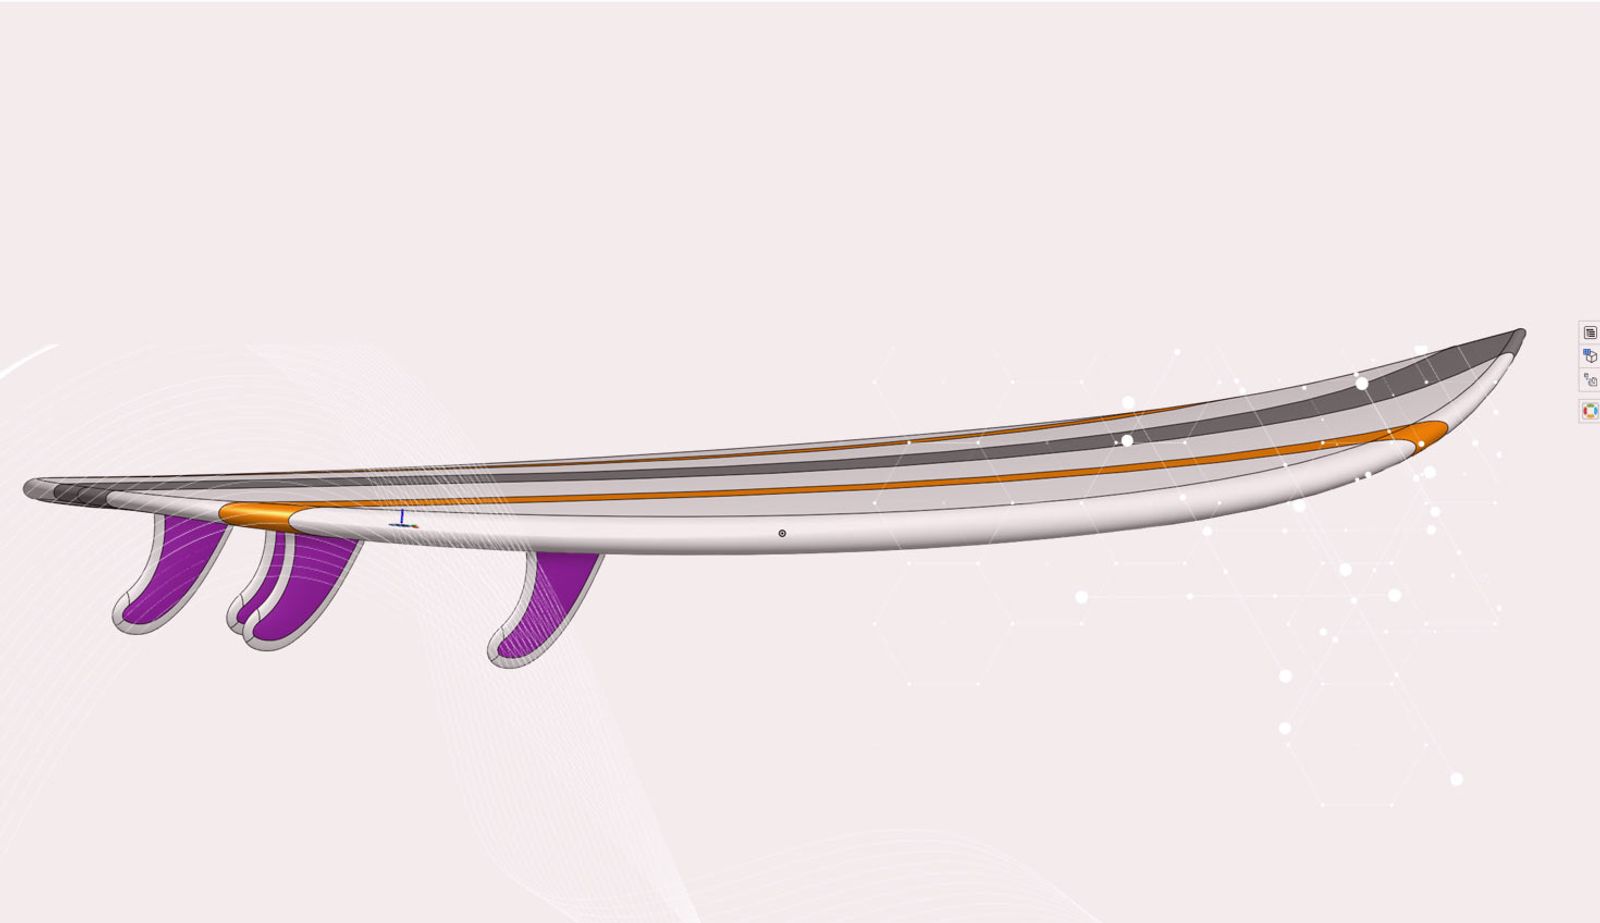
To split a surface or solid, we can draw a sketch on any parallel plane that will wrap the face we are trying to split. Let’s go through the process step by step.
First, open the Split tool and select the option “Face” (instead of “Part”) to create a new region in the face of the part or surface you are splitting.
Next, select the face(s) that you would like to split, then select the sketch to be used as the tool to split with.
To move this region of the face, select the “Move face” tool and choose the face you want to move, as well as the end type, distance and direction.
You will notice that when working with surfaces, Onshape will also stitch the faces together as you move them. This saves you time and makes these manipulations quicker and easier.
Interested in learning more Onshape Tech Tips? You can review the most recent technical blogs here.
最新コンテンツ
- ブログ
- Becoming an Expert
- アセンブリ
Built to Scale: Why Large Assemblies Don’t Slow Down in Onshape
07.16.2026 もっと見る- ブログ
- News from Onshape @ PTC
- Artificial Intelligence
Onshape Labs: AI in CAD Guided by Designers, Driven by Innovation
07.15.2026 もっと見る- ブログ
- Evaluating Onshape
- データ管理
- 共同作業
- Artificial Intelligence
How the Most Underrated CAD Feature Improves Design Workflows
07.09.2026 もっと見る