
1:17
Have you ever had a situation where you want to capture a certain orientation of your model? For this purpose, Onshape has Named Views. Let’s take a look at how to create one.
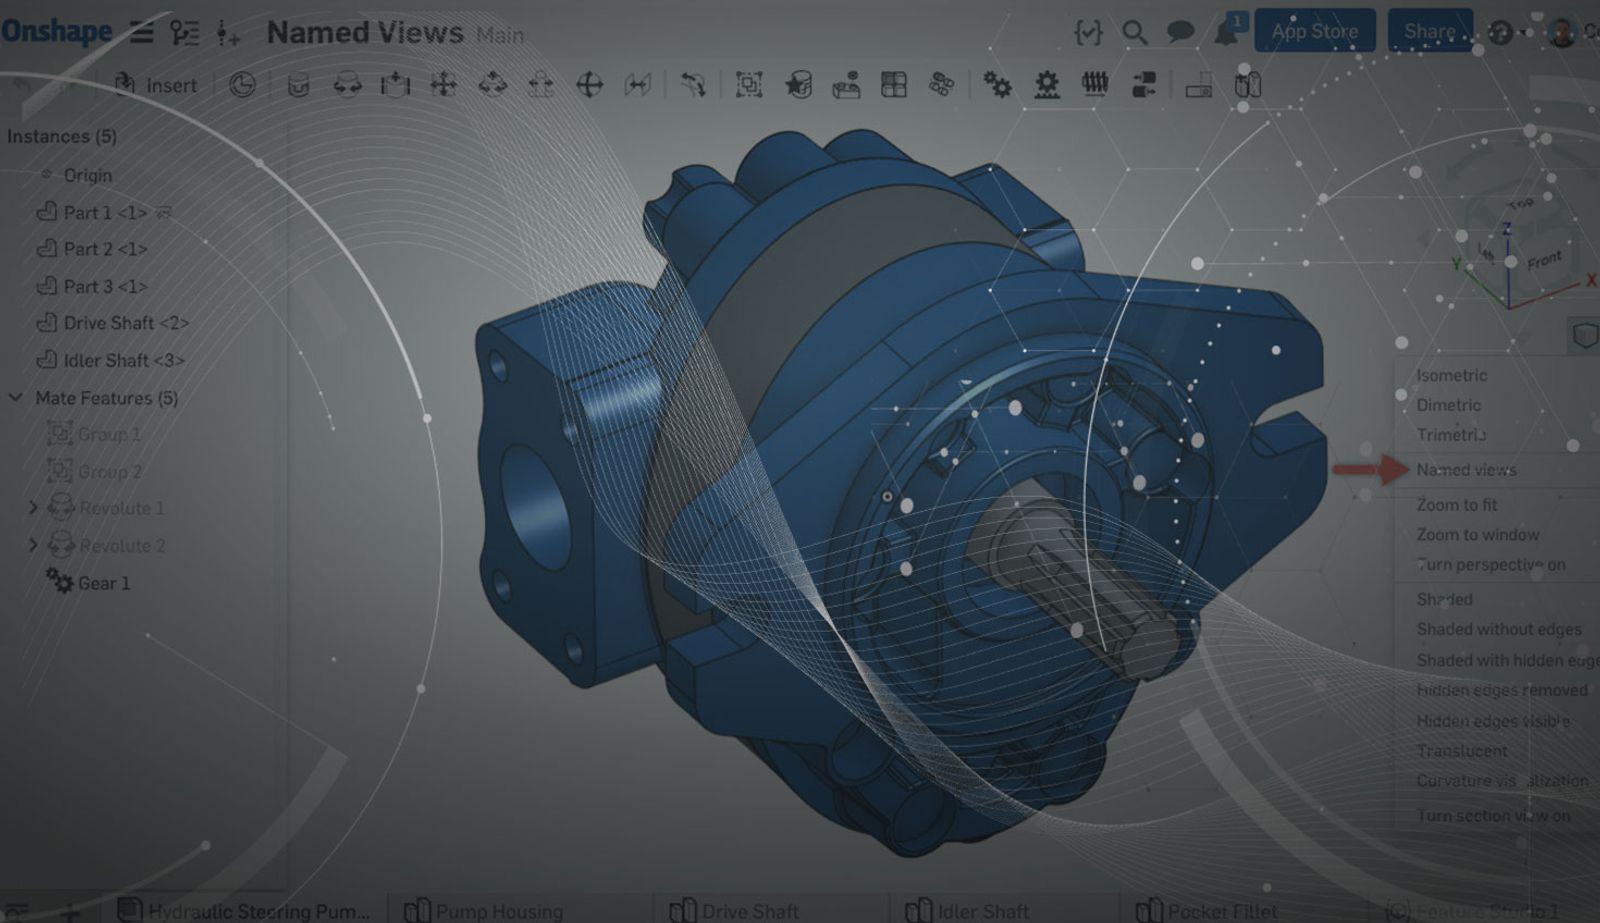
The first step is to position your model in the orientation that you want to capture with the Named View. Remember, Named Views in Onshape capture not just the orientation, but also the zoom level, and perspective state of the model – so make sure these details are correct as well. After you’ve moved the model into position, you can click the “Named Views” command from the View Tools menu.
This will launch the Named View dialog where you can create new Named Views or select Named Views that you’ve already created. To create a new Named View, type in a name and click the “+” icon.
After you’ve created your Named View, you can access it anytime by clicking the Named Views command from the View Tools menu and clicking on your Named View from the list.
Thanks to a recent update, you can now also insert these Named Views directly into an Onshape Drawing. Simply choose your Named View from the list of views when inserting.
Interested in more detail on inserting Named Views into Onshape Drawings? Check out this short video from my Onshape colleague, Neil Cooke.
So that’s it! Named Views are easy to create, and are perfect to use in those situations where the default views may not be ideal.
Contenido más reciente
- Blog
- Evaluating Onshape
- Conexión con el PLM de Arena
The Cloud-Native CAD-PDM-PLM Workflow That Finds Problems Before They Cost You
06.11.2026 Más información- Blog
- News from Onshape @ PTC
- Artificial Intelligence
- Robótica
How Multi-Agent Orchestration Between Onshape and NVIDIA Improves CAD-to-Simulation Workflows
06.01.2026 Más información- Blog
- Evaluating Onshape
- Robótica
- Aviation, Aerospace & Defense
- Colaboración
- integraciones
- Conexión con el PLM de Arena
- Administración de datos
Why the Best Hardware Teams Have Started Talking Like Software Engineers
05.28.2026 Más información