2:32
There are three ways to import CAD data into Onshape.
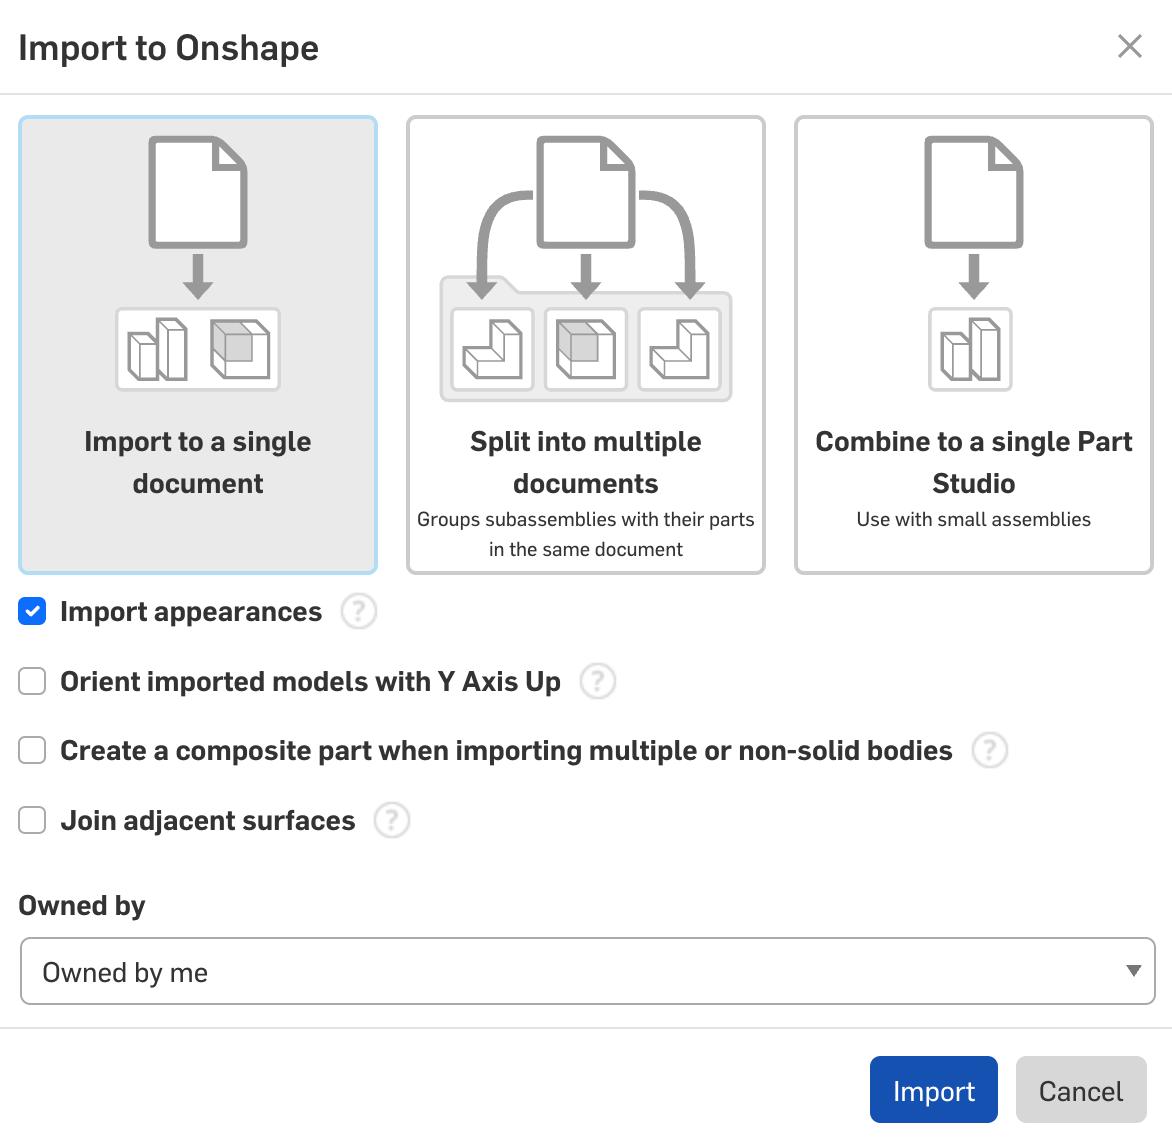
- Import to a single document: Preserves the original assembly structure and removes duplicates. However, there is only one Part Studio containing all the unique parts placed towards the origin.
- Split into multiple documents or tabs: Has the most flexibility. However, it could be overwhelming for large assemblies.
- Combine to a single Part Studio: This places all components in a single Part Studio at their original positions, where you can reuse it as a single line item with the “composite part” option turned on. This method allows duplicated parts and has no product structure.
You do not have to stop there.
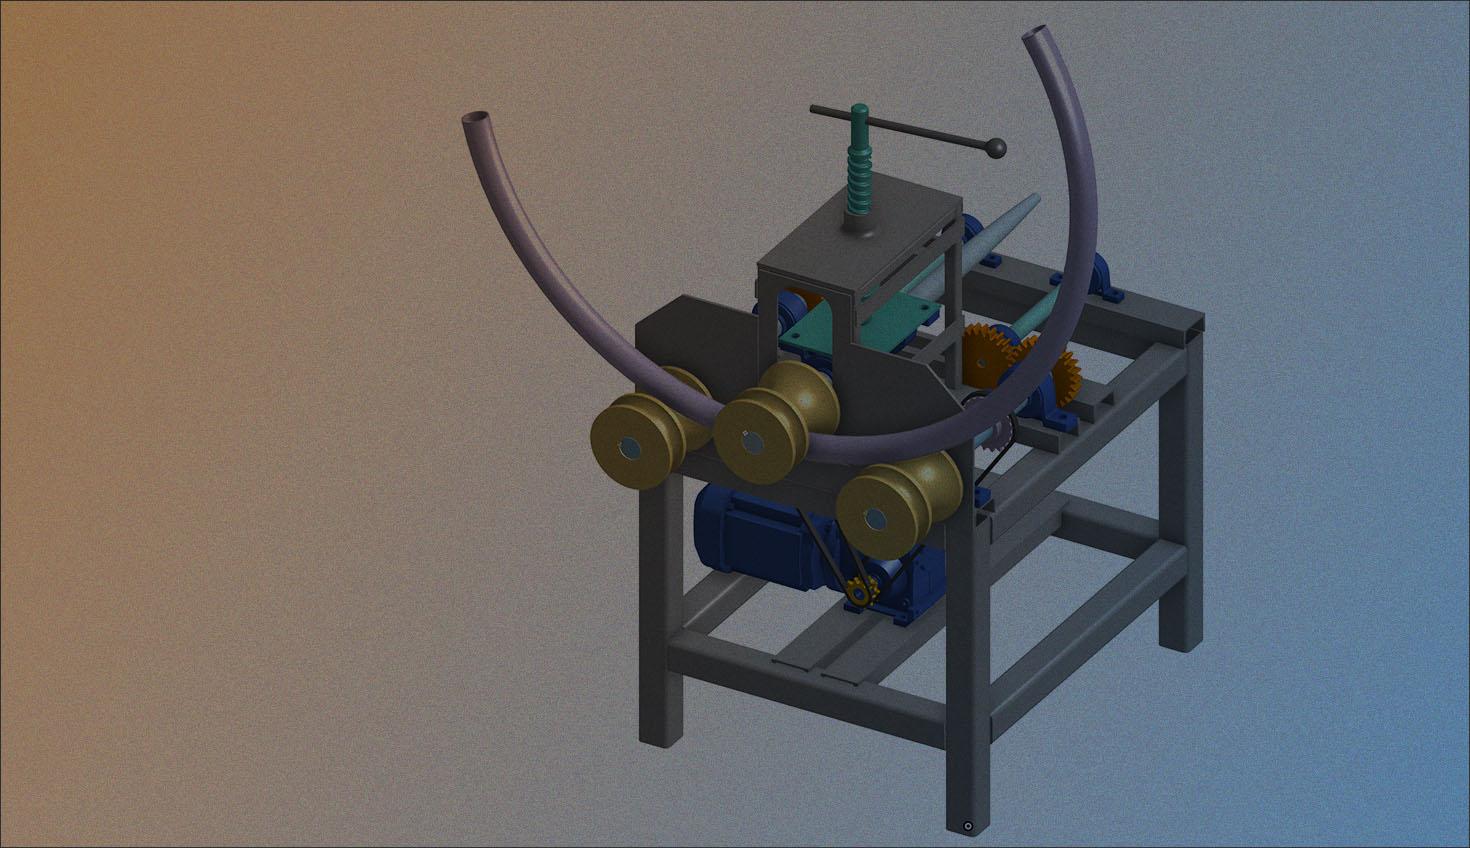
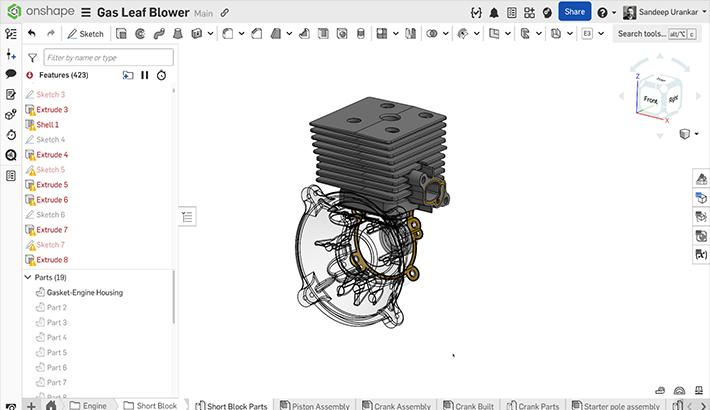
This Tech Tip teaches you the fourth method that combines the best of both worlds: You can have the assembly structure with the correct number of components and all components placed at their original positions in Part Studios. This is especially useful for designers who want to capture the layout plan of a set of components quickly.
Step 1: Get the Assembly Structure
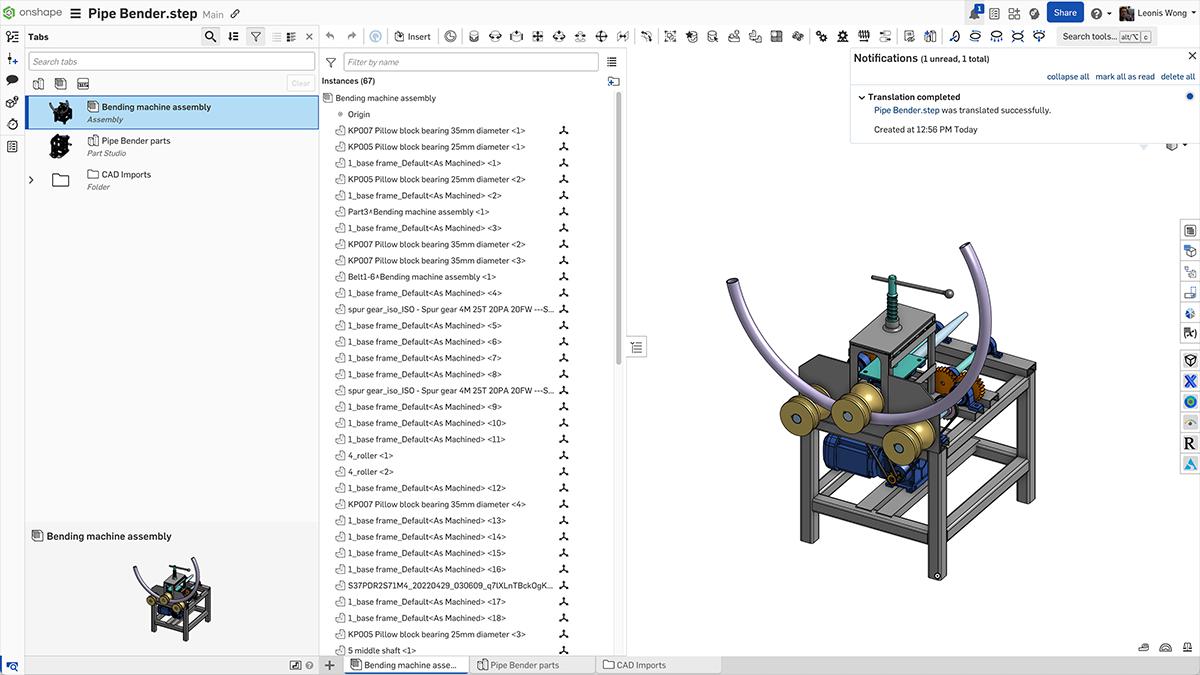
Begin the import process by choosing the Import to a single document option. This creates a document with assembly tabs, a Part Studio tab with the existing assembly structure, and a tab containing the imported file.
Step 2: Review the Assembly Structure
Depending on how structured the imported model is, it may already have different levels of subassemblies or be totally flat. It is important to take some time to review the structure and identify components that belong to the same Part Studio, such as structural parts like frames, enclosures, PCB components, or COTS parts like bearings. Some mechanisms, like gear trains and pulley sets, may be placed in a single Part Studio.
You can drag components in or out of a subassembly to redefine the structure or create additional subassemblies with the “Move to new subassembly” option. If a part does not belong to any groupings, leave it as-is.
Step 2: Export and Re-Import
Once the assembly structure is finalized, export the components as a Parasolid file to a new tab. Re-import the Parasolid file, but this time, choose Combine to a single Part Studio. This creates a Part Studio with components that maintain their relative positions. This process should be iterated for all the components in the assembly’s Instances list.
Step 3: Replace and Renovate
Create a new assembly using this new Part Studio, then replace the original one. Before that, you can delete tabs without references, such as the original Part Studio, subassemblies, and the imported file.
Now that you have a model with a well-defined structure and Part Studios, you can continue working on each part in the Part Studio with enhanced multi-part modeling capabilities.
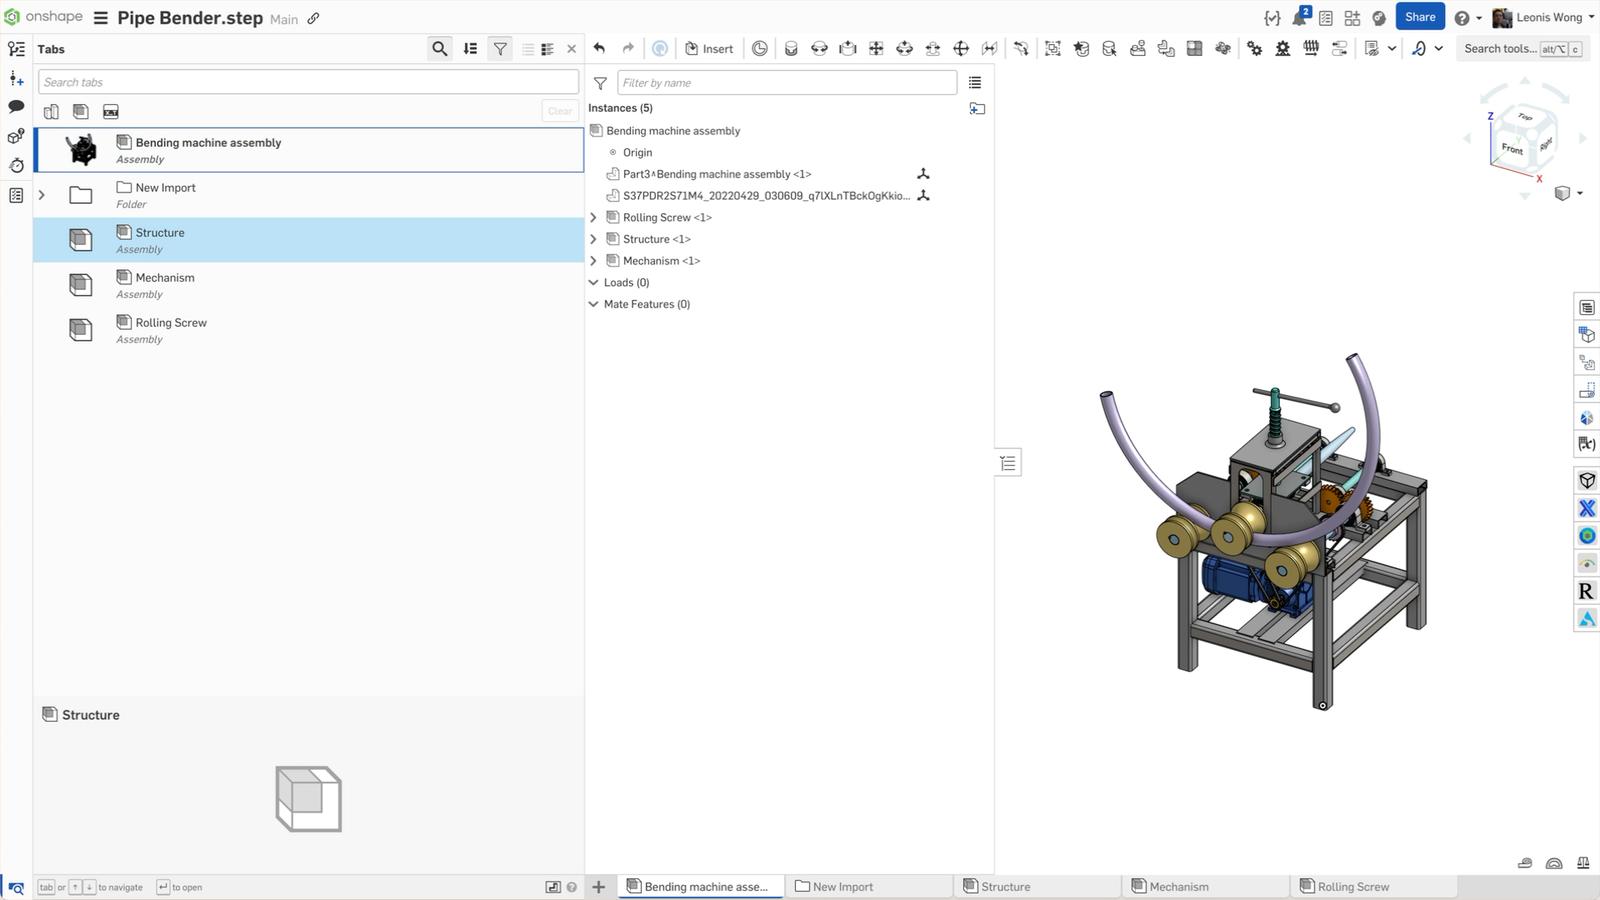
This Tech Tip helped you explore Onshape’s import capabilities and how you can redefine the structure and Part Studio of your imported model. Watch the video below for more:
For additional learning materials, explore our training courses and videos on using import and working with product structure in Onshape Self-Paced Courses and Technical Briefings.
Onshape on YouTube
Subscribe to our channel to stay up-to-date on new product releases, Onshape Tech Tips, and more!
Latest Content
- Blog
- Becoming an Expert
- Features
- Data Management
How Onshape's Repair Tool Fixes Broken References
01.29.2026 learn more
- Blog
- Startup
How Hardware Startups Can Cut Costs, Find Funding, and Scale in 2026
01.28.2026 learn more
- Blog
- Customers & Case Studies
Future Joinery Systems: Bridging the Gap Between Architecture and Manufacturing with PTC’s Onshape
01.23.2026 learn more


