
2:14
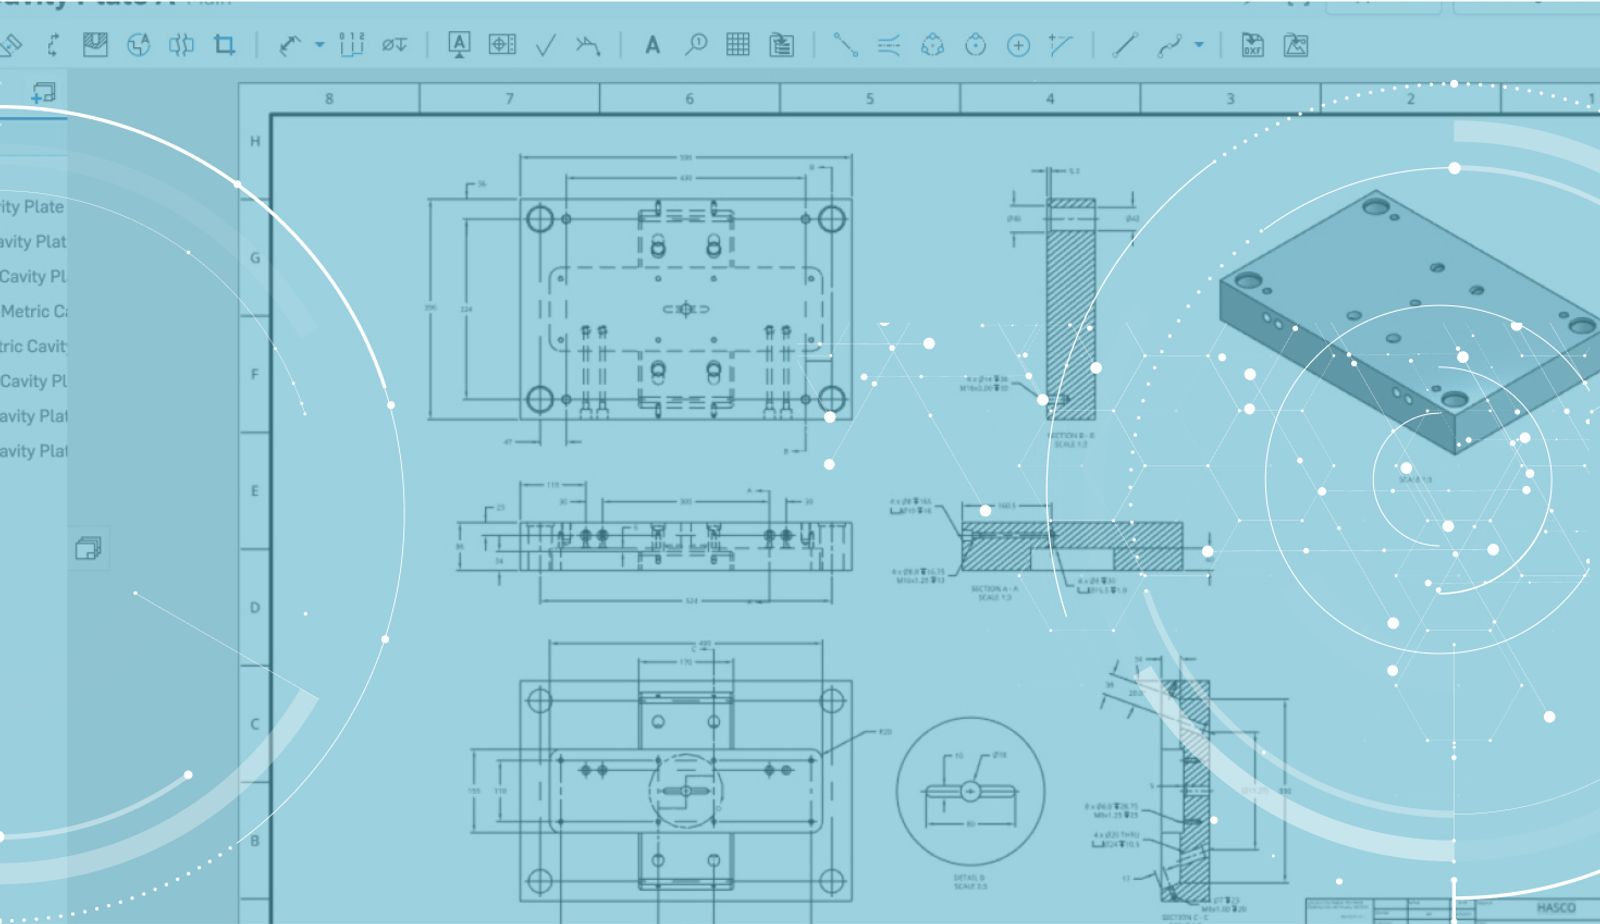
Revision tables within Onshape Drawings are very useful to help communicate changes to a drawing over the course of the design process. It is important to be able to communicate who made which changes and when. The latest release for Onshape included the beginning of smart revision tables within Onshape Drawings. Let’s review how to utilize this new feature.
From within an Onshape Drawing, select Revision tableto open up the dialog for setting up the revision table.
The Multi-sheet dropdown menu controls how the table will display on a drawing with multiple sheets. “See sheet 1” will display the full table on the sheet where the table was inserted, and will add a small note on every other sheet.
Visible rows control the number of revisions listed in the table, while Order chooses if the revisions are listed with the newest at the bottom (Top to bottom) or top (Bottom to top) of the table.
Selecting the checkbox will cause revision callouts to disappear when that row is no longer visible on the table. This is tied to the Visible rows dropdown, which will dictate the revisions that you see.
Select the icon that matches the corner of the table to set as your fixed corner. By default, Onshape will have the revision table fixed to the top-right corner.
To place the drawing revision table, click within the drawing space and then close the dialog by selecting the green checkmark.
Remember: If you are adding the revision table to an unreleased drawing, then you will not see any rows showing a revision. Instead, you will see the next revision to be used with an asterisk next to it as the next row.
To add revision callouts, right-click on the table row that you would like to add callouts for and then place them onto the drawing.
As the drawing is released, table rows will be added up to the visible limit set in the preferences dialog. Instead of having to delete the revision callouts, you can right-click on that row and choose to hide the callouts. This will be helpful when focusing on changes made during a specific revision.
Drawing revision tables behave the same as other drawing tables with respect to resizing and reformatting the cells. When modifying the Description cell, you can choose to insert a drawing or sheet reference property to autofill relevant information to the revision.
Revision tables have their own drawing properties to control the default format. Remember that this can be set when creating a drawing template for your company.
Interested in learning more Onshape Tech Tips? You can review the most recent technical blogs here.
Latest Content
- Blog
- Becoming an Expert
- Assemblies
Built to Scale: Why Large Assemblies Don’t Slow Down in Onshape
07.16.2026 learn more- Blog
- News from Onshape @ PTC
- Artificial Intelligence
Onshape Labs: AI in CAD Guided by Designers, Driven by Innovation
07.15.2026 learn more- Blog
- Evaluating Onshape
- Data Management
- Collaboration
- Artificial Intelligence
How the Most Underrated CAD Feature Improves Design Workflows
07.09.2026 learn more