
3:11
Light is everywhere: the ceilings in your home, your car, your computer keyboard, your neighbor’s underwater rover, etc. When you are creating renderings you can use light emissions to create more realistic products and environments. You can also use light in a rendering to manufacture an environment, just like in a photo studio.
In this Tech Tip, you will learn how to set up your own studio lighting in Onshape’s Render Studio and how to use light emissions to create more realistic images.
In this Tech Tip, we will look at a couple of light emission types that will help in a wide array of use cases. I will focus the technical explanation on a single type of emission but will provide resources for different use cases.
Spot Light in the Render Studio
Let's start with the Spot Light Emission, which is very useful when we want a directed beam of light, such as a car light such as this example of an old Citroen:
This type of emission will help you create directed lighting that can be used in a variety of different ways, from directed light fixtures to beams of all types.
For more information on the Spot Light and how you can use it, here is a great article from our Help Documentation.
Diffusing Light in the Render Studio
When we are using light emissions it is important to consider if the light should be diffused. You might not realize it, but most light you interface with is diffused in one way or another. Any lamp around your home will either have a shade or a diffusing layer to soften the light. Light is also diffused whenever it travels through a volume, such as water.
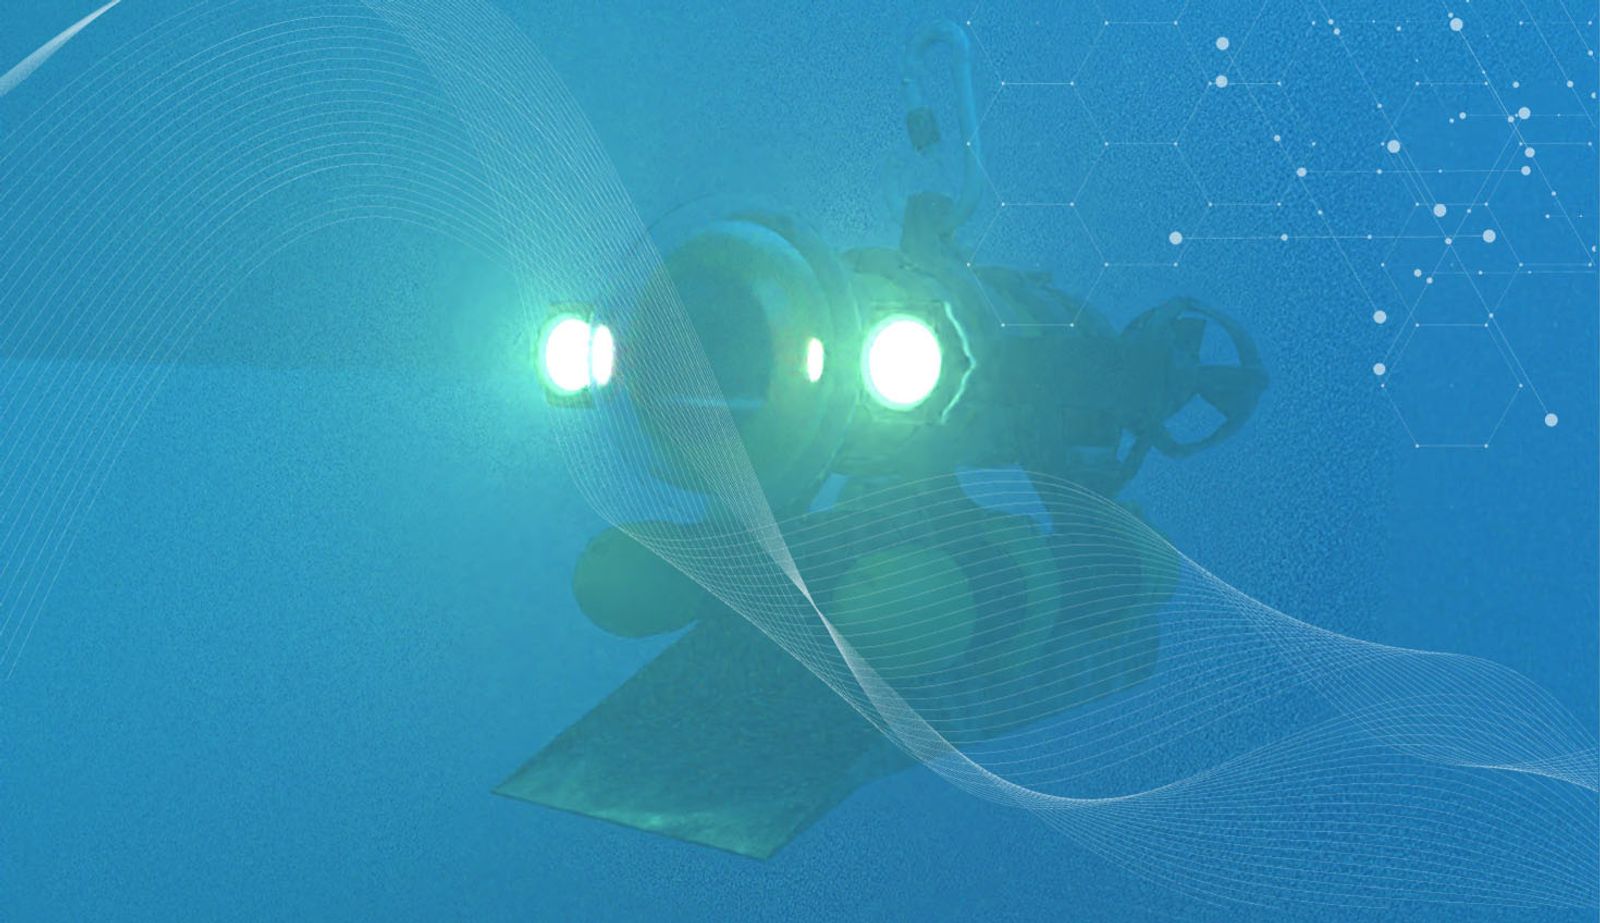
Let's look at an example of how light diffusion can be used to create an effect:
When creating this render of an underwater ROV, shown above, we wanted to create an illusion of immersion by combining the Spot Light with a volume, which is acting as a light diffuser.
By now, you should have a better idea of what light diffusion is and how it can impact your images.
Diffusing Light with a Volume
Before we get to the demo, let's think about volumes and how these can be used to diffuse light. While we can diffuse light with a shader of some type, which will diffuse it, volumes can open up a lot of options when creating an environment or manipulating a light emission. Here is some great documentation on how to apply a Volume to a part in the Render Studio and combine it with a Spot Light.
One of my favorite examples of using a Volume to diffuse light is this saber:
The way to achieve this type of effect is to combine a light emission with a Bloom Filter to achieve this vibrant light. I will discuss Bloom Filters and this effect in a future Tech Tip! If you want to learn more today, you can also reference this help document.
IES Light Emission in the Render Studio
For the demo today we will use an IES light emission, which will allow you to emulate particular light profiles through an IES file. You can find a library of different light profiles here.
In this example, you can see a quick emission application, followed by applying a diffusing material to soften the light. Let's use this light dome, shown above, to construct a studio environment where you have full control of the lights.
If you want to learn more about this example and how to set up the studio environment follow along with the video! You can also copy this Onshape Document Here!
Interested in learning more Onshape Tech Tips? You can review the most recent technical blogs here.
Latest Content
- Blog
- News from Onshape @ PTC
- Artificial Intelligence
Onshape Labs: AI in CAD Guided by Designers, Driven by Innovation
07.15.2026 learn more- Blog
- Evaluating Onshape
- Data Management
- Collaboration
- Artificial Intelligence
How the Most Underrated CAD Feature Improves Design Workflows
07.09.2026 learn more- Blog
- Evaluating Onshape
- Collaboration
With Cloud CAD and PDM, Flexible Design for a Summer Coolcation
07.02.2026 learn more