
03:22
One of the most important steps when programming CNC toolpaths in Onshape CAM Studio is defining the cutting tool. Without an accurate tool definition, machining operations may not be generated correctly, and the cutting simulation may not reflect real-world conditions.
This Tech Tip explains how to create a tool in Onshape CAM Studio, making it easy to use in your CNC programming workflow.
Why Tool Definition Matters
In Onshape CAM Studio, a tool is not just the cutting tool itself, it is a combination of a cutter, arbor, and holder that defines how material is removed. Each tool is saved in a library, allowing you to reuse your settings in future machining operations. If you are new to CAM software, think of a tool library as a catalog of digital tools that mirrors the actual tools in your shop.
CAM Studio
Drive manufacturing quality and excellence with unified CAD/CAM in the cloud.
Step-by-Step Guide to Creating a Tool
1. Open the Tool Creation Dialog
Navigate to the Tools tab in Onshape CAM Studio and click Create tool. If this is your first time creating a tool, your library is empty.
Tip: Once a tool is created, it gets stored in your personal library, so you do not have to redefine it each time. You can also import libraries shared by other users.
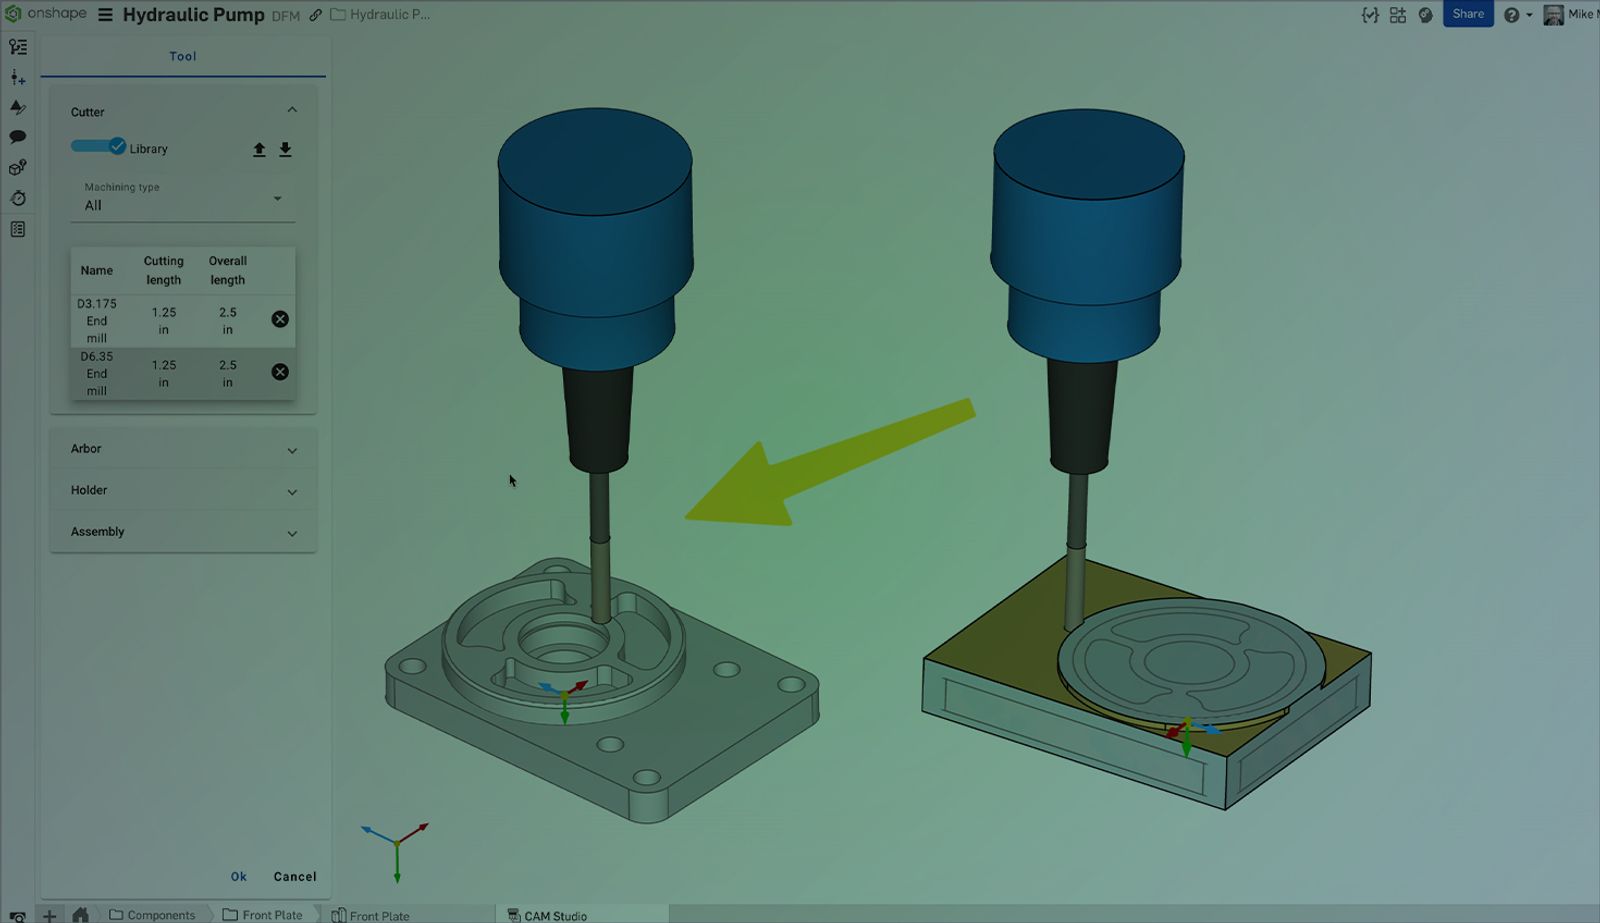
2. Define the Cutter
The Cutter is the part of the tool that removes material.
- Inside the Cutter group box select the Machining type to filter the available tools based on the cutting operation (for instance, drilling or milling).
- Further refine your selection by choosing a Cutter type (for instance, end mill, ball nose, or chamfer).
- If the tools already exist in the library, they appear in the list. To remove a tool, click Delete cutter from library.
Tip: If you do not yet have a saved library, toggle the Library off to define a new cutter from scratch.
3. Add an Arbor (Optional)
An Arbor is used to secure the cutter in place and is essential for certain machining operations.
- Click the Arbor group box and select Enable to define an Arbor.
- If a library exists select a saved Arbor or toggle the Library off to create a new one.
- Name the Arbor and enter the X (diameter) and Z (length) values.
- If additional definition points are needed click Add point.
Tip: As you use different Arbors Onshape CAM Studio builds a library of them for future use.
4. Add a Holder (Optional)
A Holder secures the cutter and arbor in the machine’s spindle.
- Click the Holder group box and select Enable to add a Holder.
- If an existing Holder is available in the library select it. Otherwise, toggle the Library off to define a new one.
- Name the Holder and enter the X (diameter) and Z (length) values.
- Click Add point to define additional parameters.
Tip: Similar to Arbors, Holders are automatically added to your library when used.
5. Assign an Assembly Number
The Assembly number uniquely identifies the tool within the machine.
- Go to the Assembly group box and enter a unique number for the tool.
- This number is not automatically linked to the tool library so it must be set manually when using the tool in different jobs.
- Edit this number at any time without duplicating the tool assembly.
Tip: Keeping a consistent numbering system helps organize tools efficiently in different setups.
6. Save the Tool
Once all parameters are defined click OK to accept the tool. The new Cutter, Arbor, and Holder are added to their respective libraries for future use.
7. Managing Your Tools
After creating a tool access additional options using the ellipsis (⋮) menu:
- Edit: Modify the tool parameters.
- Duplicate: Create a copy with slight variations.
- Suppress: Temporarily disable the tool without deleting it.
- Delete: Remove the tool from the library.
Additionally, toggle visibility in the graphics area by checking or unchecking the box next to the tool’s name.
Final Thoughts
Defining a tool in Onshape CAM Studio ensures machining operations run smoothly and match real-world expectations. By understanding how to create, manage, and reuse tools effectively, you can streamline your CAD-to-CAM workflow and spend less time re-entering tool data.
Want to see this in action?
Try Onshape CAM Studio today.
The Onshape Discovery Program
Learn how qualified CAD professionals can get Onshape Professional for up to 6 months – at no cost!
Latest Content
- Blog
- Becoming an Expert
- Assemblies
Built to Scale: Why Large Assemblies Don’t Slow Down in Onshape
07.16.2026 learn more- Blog
- News from Onshape @ PTC
- Artificial Intelligence
Onshape Labs: AI in CAD Guided by Designers, Driven by Innovation
07.15.2026 learn more- Blog
- Evaluating Onshape
- Data Management
- Collaboration
- Artificial Intelligence
How the Most Underrated CAD Feature Improves Design Workflows
07.09.2026 learn more