
00:00
Today's Tech Tip focuses on the Simplify custom feature, created by Neil Cooke at PTC, to assist users who want to prevent internal details from being shared externally or who want to boost performance when working with overly complex imported parts.
Add the Simplify Custom Feature to your Toolbar
The Simplify custom feature exists in a public document. To add it to the toolbar, click the Add custom features icon in the Part Studio toolbar.
Paste this URL in the search bar at the top: https://cad.onshape.com/documents/3f84343841cb6d7fead072c8.
Select the resultant document and then the feature under the Feature Studio name (Simplify). Onshape adds it to the feature toolbar.
How to Use the Simplify Custom Feature
The Simplify custom feature can be used with both Part Studios and assemblies.
If working with an assembly, start by selecting the Create Part Studio in context icon from the assembly toolbar. Then choose either the origin or a mate connector to define the reference point for the new Part Studio.
Once in the new Part Studio, the Simplify custom feature includes an input for selecting the Parts to simplify, along with several options: Delete faces, Remove open voids, and Simplify geometry.
Begin by selecting all the parts needed to create a simplified geometry. If simplifying an assembly, make sure to select all the needed parts from the in-context reference.
Before any simplification happens, check Simplify geometry. This option is turned off by default to improve performance while making selections. Without enabling it, no actual simplification can occur.
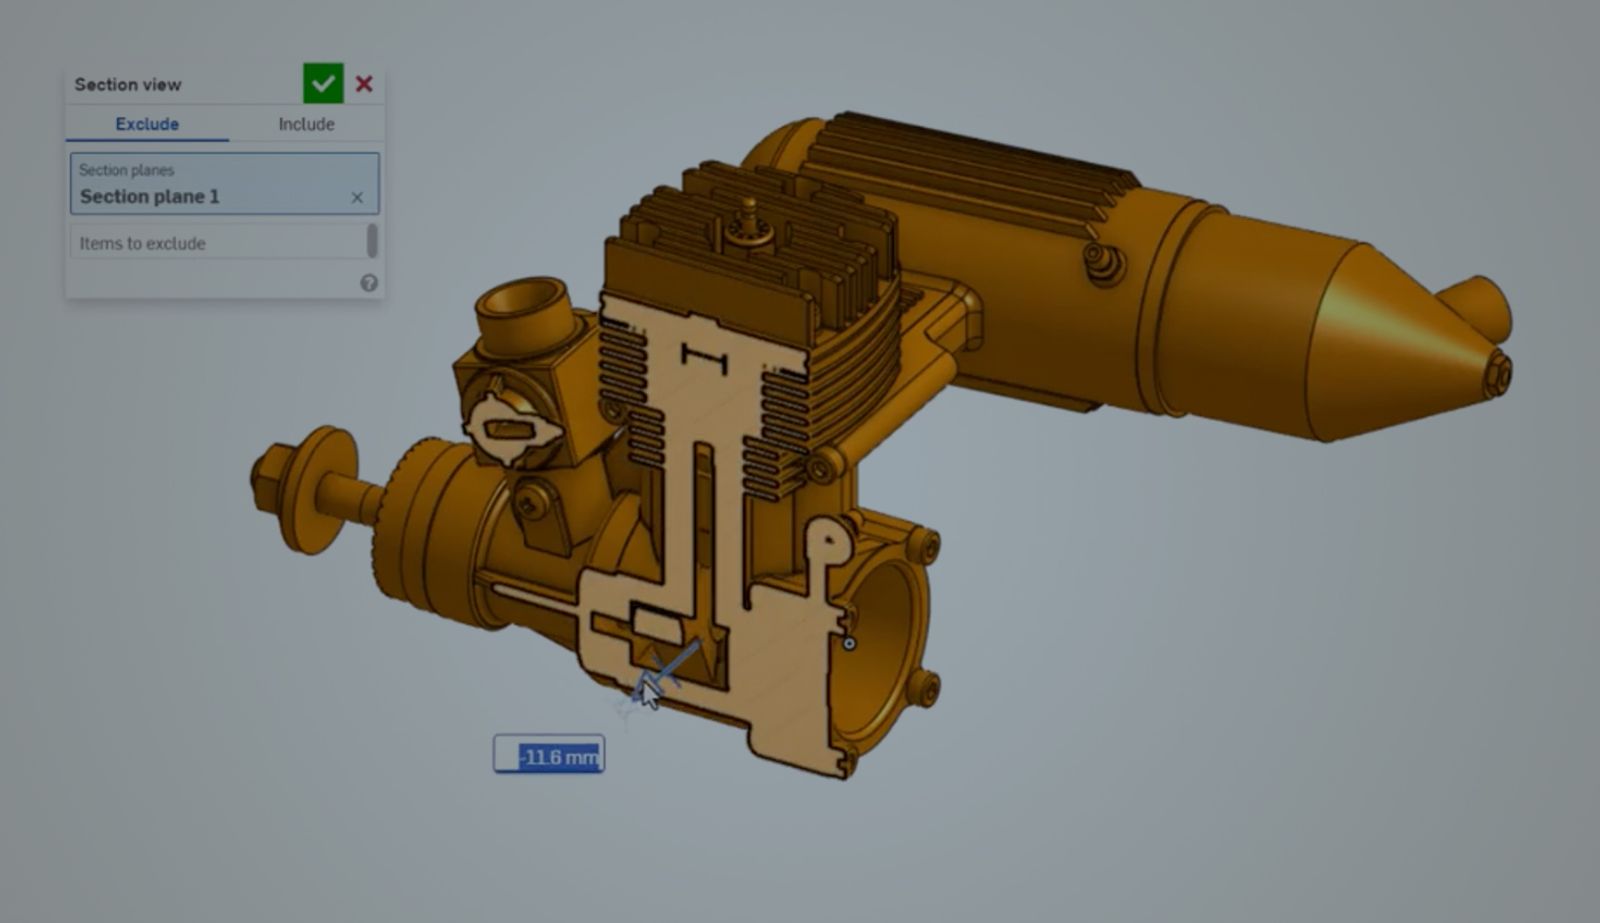
Once complete, all touching parts are automatically merged into a single solid body. When a section view is created, notice that while the components are combined, a lot of internal detail might still be present.
To remove that internal detail, check Remove open voids. Use the Edges to fill input to create planar caps, helping to properly close off the volume.
If features like branding embossments, mounting holes, or any other unnecessary geometry exist, they can be removed using the Delete faces option. This eliminates those features entirely, cleaning up the final simplified model.
Keep in mind, this feature does not work with assemblies that would result in non-manifold geometry when combined into a single part. For example, if there is a gasket that only touches a surface along a single line, it will not simplify properly. This is because it creates a non-manifold condition, which is not valid for a solid model.
Once selections are made and the options configured, the result is a clean, simplified part ready for assembly, export, or sharing.
Check out Neil’s release announcement on the Onshape Forum for another demo and discussion. For more information on other custom features that could improve your workflow, check out the Custom Features Spotlight.
Friends Don’t Let Friends Use Old CAD!
Know a colleague who could benefit from our cloud-native, fully-featured collaborative design platform?
Latest Content
- Blog
- Evaluating Onshape
- Arena PLM Connection
The Cloud-Native CAD-PDM-PLM Workflow That Finds Problems Before They Cost You
06.11.2026 learn more- Blog
- News from Onshape @ PTC
- Artificial Intelligence
- Robotics
How Multi-Agent Orchestration Between Onshape and NVIDIA Improves CAD-to-Simulation Workflows
06.01.2026 learn more- Blog
- Evaluating Onshape
- Robotics
- Aviation, Aerospace & Defense
- Collaboration
- Integrations
- Arena PLM Connection
- Data Management
Why the Best Hardware Teams Have Started Talking Like Software Engineers
05.28.2026 learn more