
03:19
Today’s tech tip examines a fundamental aspect of nearly every design workflow: adding dimensions to your drawings. In Onshape, it does not matter if you are showing driving dimensions or creating reference dimensions, it is done with all the same tools.
If you open the Dimensions dropdown, you’ll find several options. This tech tip looks at a few specific ones, but (spoiler alert) it also reveals how most of the dimensions formats can be created directly from the standard Dimension tool.
Dimension (the first tool in the list)
The Dimension tool is probably one of the most used tools in any Onshape drawing. It is intelligent and can automatically select and create a dimension type based on the selected elements.
Want to create linear dimensions or line dimensions? Select the elements to create and place the dimension.
Selecting a line or an edge creates a linear dimension.
Selecting two points defines a linear dimension between them. The dimension can be displayed vertically, horizontally, or aligned according to your selection for placement.
Selecting a point and a line places a dimension between them. The dimension measures perpendicular to the selected line.
Selecting two lines or edges creates a linear dimension between those entities.
However, if the two lines selected are not parallel, the dimension tool automatically dimensions it as an angle. There is no need to switch to a different angular dimensioning tool.
Select three points and define an angle dimension between them.
The order of selection does matter in this case. The vertex of the angle dimension is located at the point of first selection, with the second and third selections forming the “legs” or extensions between which the angle is defined.
Lastly, selecting a circular edge automatically yields a diameter or radius dimension. The selection of this is dictated by the type of edge. If it is fully circular, a diameter is created. If it is an incomplete circle (an arc), a radius is created.
And All the Other Tools in that Dropdown?
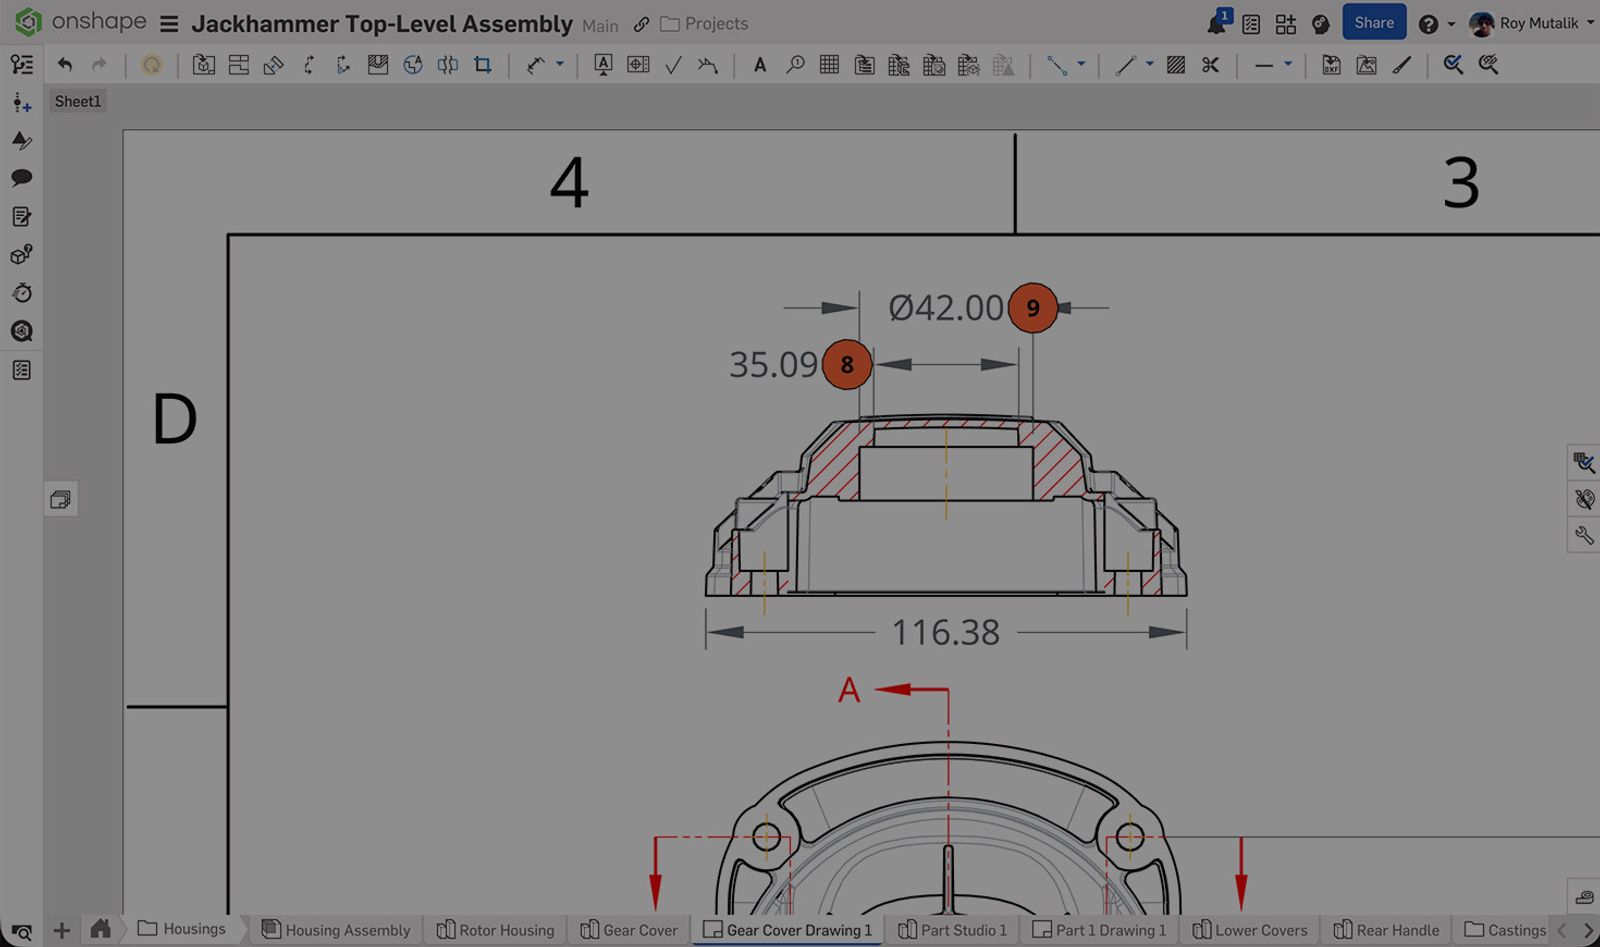
In the screenshot below, all the other tools circled in red are for specific dimension types, but they can be created using the standard Dimension tool.
However, these tools do still have their place, most notably because they specifically filter selections and provide a specific result.
For example, if you select a Line to Line dimension, hovering over the view only allows you to select lines, thereby making it easier to create the desired dimension. Similarly, if you select the Diameter dimension tool, even selecting a partial arc is recognized as a diameter.
Chamfer Dimension
The Chamfer dimension tool automates the creation of dimensions by selecting two edges that make up the chamfer.
Select from the drawing properties to create dimensions or notes, length and angle, or two length dimensions.
Maximum or Minimum Dimension
When dimensioning the distance between two circular edges, the default is a center-to-center dimension. To show the minimum, maximum, or any combination of those options between your two circles, use the Maximum or Minimum dimension tool.
The Maximum or Minimum dimensions tool measures based on where you select on the circular edge. If you pick near the far side, it measures to the maximum. If you select closer to the near side, it snaps to the minimum point.
Conclusion
While there are many different basic dimensioning features in Onshape, the Dimension tool covers most standard use cases in one, automatically-adapting tool. However, the additional selectable features can make it easier by filtering your selections or creating a specific type of dimension.
There are also other advanced and specialized dimension tools that are not discussed in this article, such as Ordinate dimensions or Hole callouts. Please feel free to review the documentation on these. More content on these will be available in a later tech tip.
Interested in learning more through Onshape Tech Tips? You can review the most recent technical blogs here.
Friends Don’t Let Friends Use Old CAD!
Know a colleague who could benefit from our cloud-native, fully-featured collaborative design platform?
Latest Content
- Blog
- Becoming an Expert
- Assemblies
Built to Scale: Why Large Assemblies Don’t Slow Down in Onshape
07.16.2026 learn more- Blog
- News from Onshape @ PTC
- Artificial Intelligence
Onshape Labs: AI in CAD Guided by Designers, Driven by Innovation
07.15.2026 learn more- Blog
- Evaluating Onshape
- Data Management
- Collaboration
- Artificial Intelligence
How the Most Underrated CAD Feature Improves Design Workflows
07.09.2026 learn more