
01:24
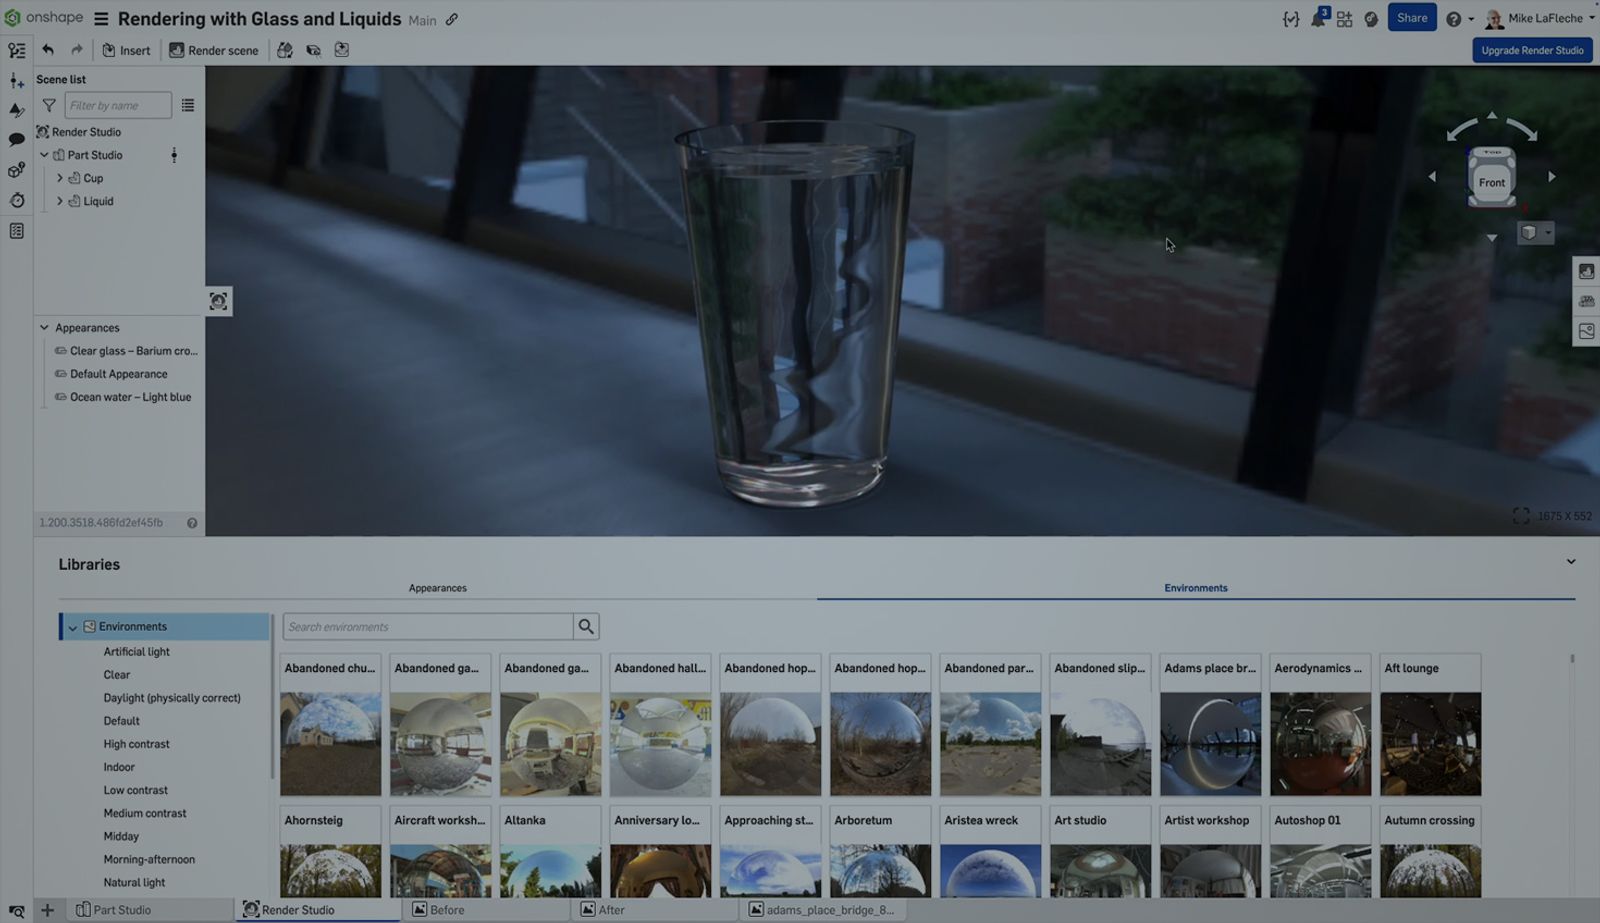
When working with transparent materials like glass and liquids in Render Studio, realistic results depend on precise modeling techniques. This Tech Tip shows how to properly prepare models for photorealistic rendering of scenes like beverages in bottles, chemicals in vials, or any situation involving liquid inside a see-through container.
Model Overlap, Not Gaps
The key to a physically accurate result is ensuring the liquid slightly overlaps the inner wall of the container. This small overlap prevents a visible air gap, which would cause visual artifacts in the rendered image. Contrary to intuition, do not model a gap between the liquid and the container, as this leads to unrealistic refractions.
*Pro Tip: Use a surface offset of 0.01mm to 0.05mm to ensure the liquid volume intersects the inside of the glass body.
Prepare the Geometry
- Create the container body as a solid (e.g., a bottle or glass).
- Use the same profile to construct a second solid for the liquid volume.
- Apply a small outward offset to the liquid geometry to ensure overlap with the container’s inner wall.
Apply Materials in Render Studio
- Assign a transparent glass material (like “Clear Glass” or “Frosted Glass”) to the outer body.
- Assign a colored transparent material (like “Red Liquid” or “Whiskey”) to the overlapping internal solid.
Learn More About Render Studio
Rendering photorealistic product visuals is an essential step in modern product design workflows. Onshape’s Render Studio helps you share design intent, win stakeholder approval, and even create final marketing visuals without switching platforms.
Visit the Render Studio course in the Onshape Learning Center for more in-depth training.
The Onshape Learning Center
Take self-paced courses, read articles, or sign up for an instructor-led training session.
Latest Content
- Blog
- Becoming an Expert
- Assemblies
Built to Scale: Why Large Assemblies Don’t Slow Down in Onshape
07.16.2026 learn more- Blog
- News from Onshape @ PTC
- Artificial Intelligence
Onshape Labs: AI in CAD Guided by Designers, Driven by Innovation
07.15.2026 learn more- Blog
- Evaluating Onshape
- Data Management
- Collaboration
- Artificial Intelligence
How the Most Underrated CAD Feature Improves Design Workflows
07.09.2026 learn more