
00:00
Summary
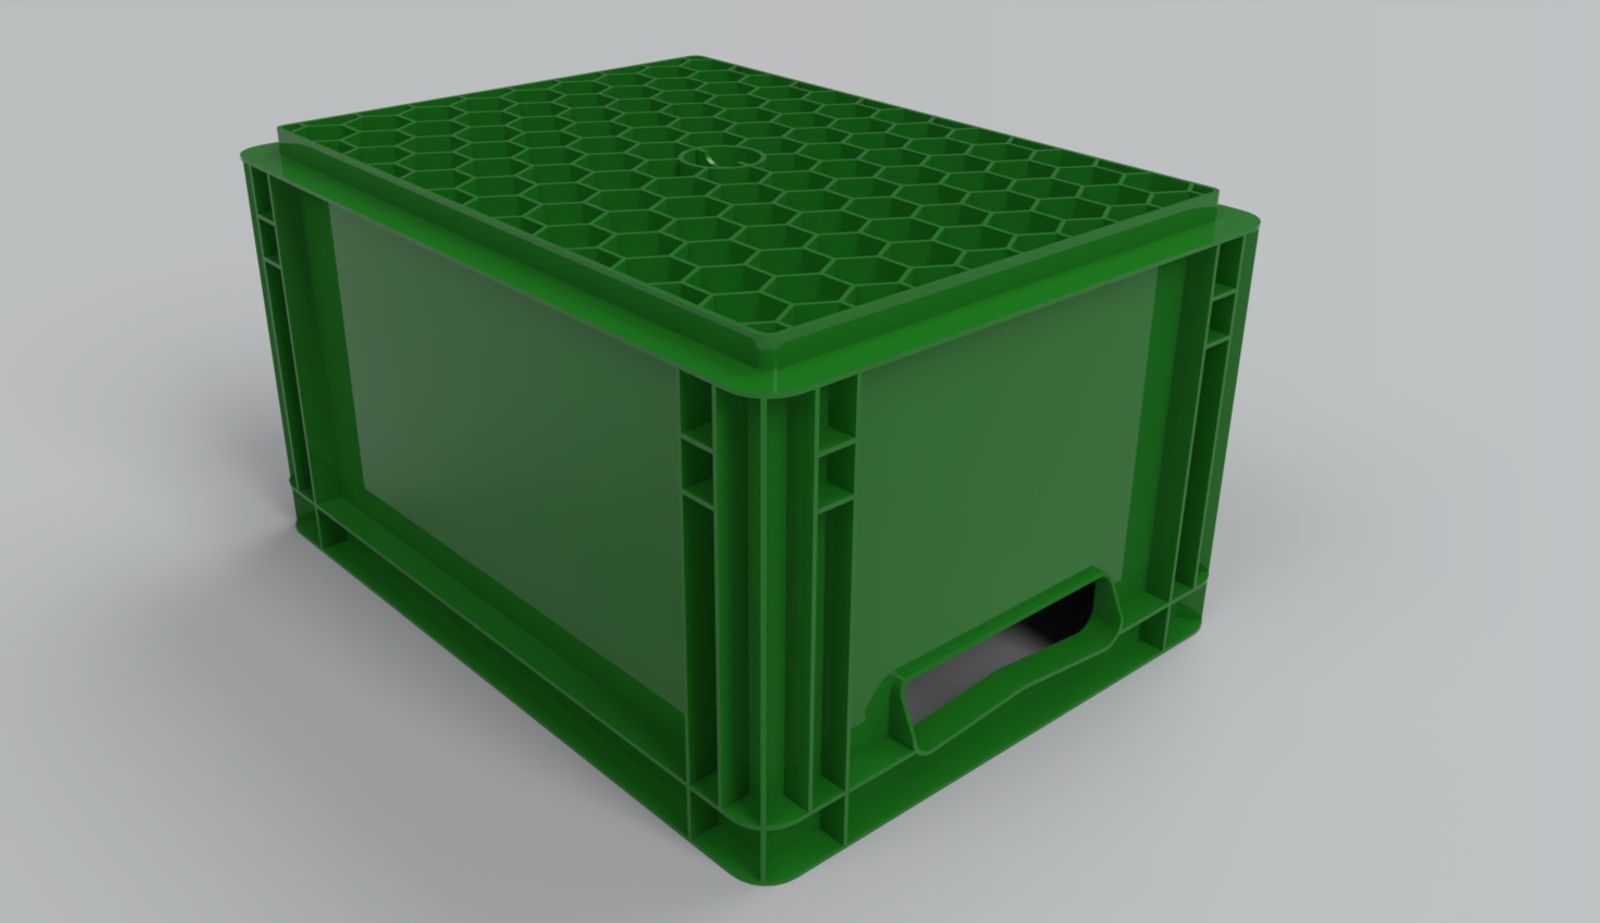
The honeycomb structure combines aesthetic appeal with exceptional structural integrity, and often finds its application in places that require a good strength-to-weight ratio, like a sandwich panel.
In this Tech Tip, learn how to create a honeycomb structure with Onshape’s Linear Pattern tool.
Sketch, Extrude, Pattern
It takes 3 features to create it. And here’s how.
First, create a hexagon sketch. An inscribed polygon is better than a circumscribed polygon because the diameter equals the width across flats, which simplifies the relations.
Second, convert the sketch into a rib body with the Extrude thin option. Selecting the midplane option simplifies the calculation of the pattern distance.
Finally, create a linear pattern. Direction 1 is the Y-axis, which also aligns with the width across flats. Direction 2 is 60 degrees from the Y-axis and is normal to the adjacent face. Since the ribs are centered on the sketched edges, there’s no need to account for the rib thickness.
The pattern distance is equal to the Width across Flats, which is simply the diameter of the inscribed circle. To make it look squarely arranged, create additional rows, then skip the unneeded ones.
Now the honeycomb rib structure is completed.
For the ease of parametric control, you can swap out the values with variables.
Performance Considerations
Use the Show regeneration times button to monitor the regeneration time and choose the best workflow, especially for patterns with high count or complex shapes.
Choosing different entity types, such as Part, Face, or Feature for a pattern, can have different impacts on performance, as discussed in this Tech Tip. In this case, creating a pattern by using solid bodies for removal improves the performance.
Creating the hexagonal cuts with solid bodies is essentially a punching process. Instead of creating a cutout, extrude the hexagon sketch into a new solid body as the punch tool, then in the Pattern dialog, choose Part, Remove.
In certain cases, using a face pattern may be more viable, as discussed in this Tech Tip.
Wrapping Up the Honeycomb
With a few more steps, you can create a honeycomb tube by wrapping the face onto a cylinder. The trick is to fit the length of the honeycomb rib to the circumference of the half circle.
This Tech Tip helped you explore Onshape’s patterning capabilities and how you can easily create a honeycomb ribbing structure.
Watch the video below for more:
For additional learning materials, explore our training courses and videos about using patterns and advanced part modeling features in Introduction to Patterns and Advanced Part Design.
The Onshape Learning Center
Take self-paced courses, read articles, or sign up for an instructor-led training session.
Latest Content
- Blog
- Evaluating Onshape
- Arena PLM Connection
The Cloud-Native CAD-PDM-PLM Workflow That Finds Problems Before They Cost You
06.11.2026 learn more- Blog
- News from Onshape @ PTC
- Artificial Intelligence
- Robotics
How Multi-Agent Orchestration Between Onshape and NVIDIA Improves CAD-to-Simulation Workflows
06.01.2026 learn more- Blog
- Evaluating Onshape
- Robotics
- Aviation, Aerospace & Defense
- Collaboration
- Integrations
- Arena PLM Connection
- Data Management
Why the Best Hardware Teams Have Started Talking Like Software Engineers
05.28.2026 learn more