
2:29
There have been a lot of superb tech tips on how to collaborate on drawing reviews in Onshape such as how to use markups in Onshape and collaborating on Onshape drawing reviews.
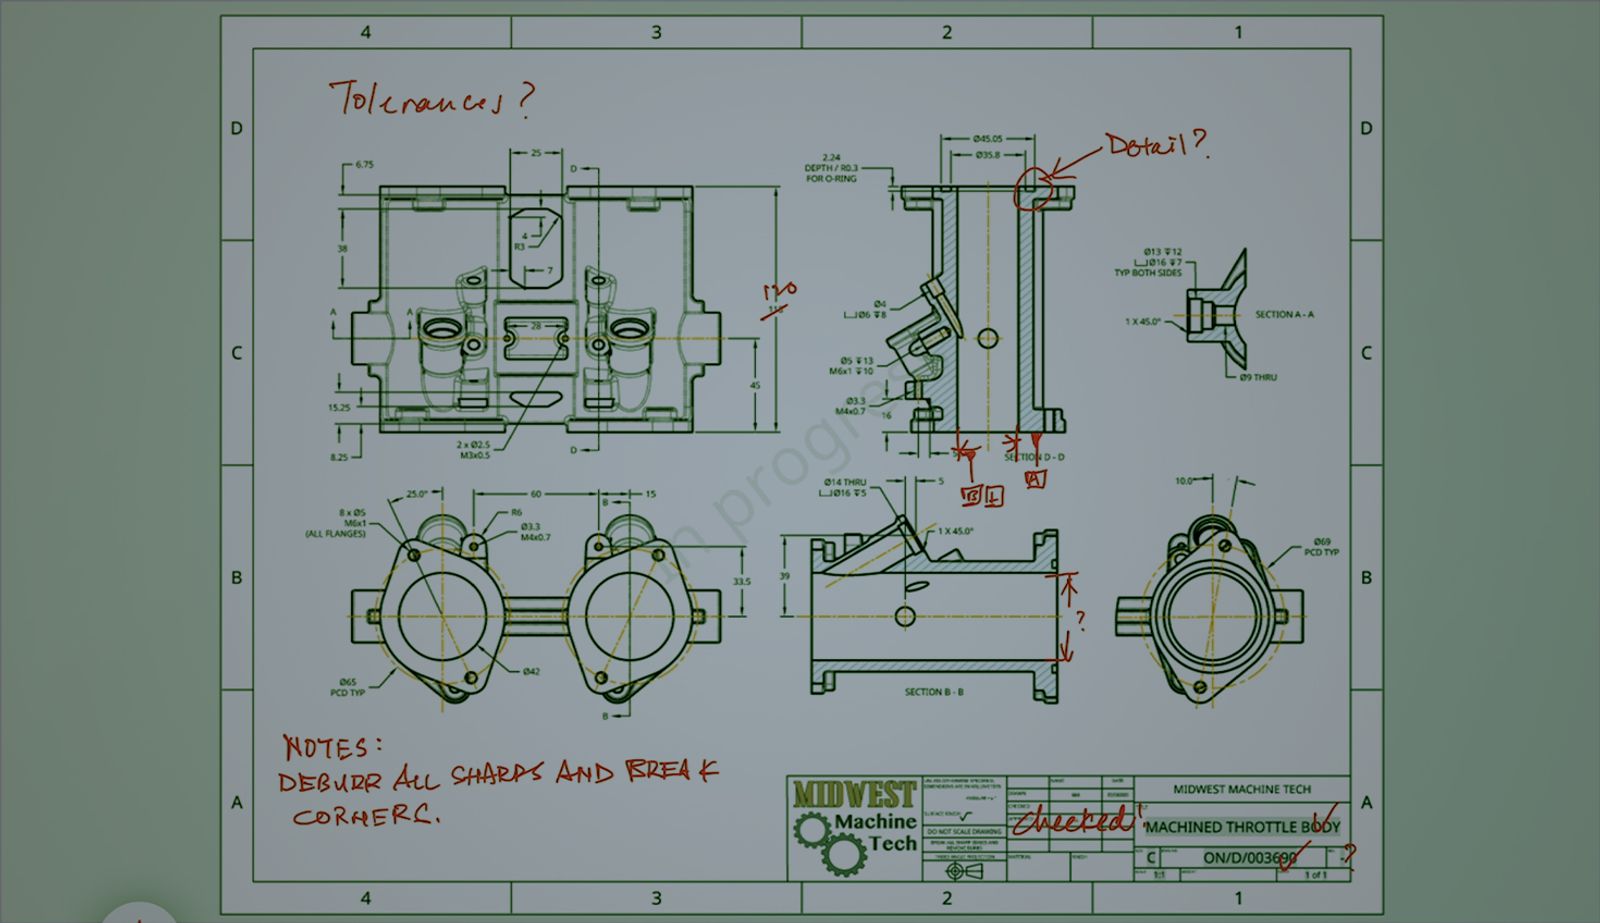
This Tech Tip teaches you how to mark up and redline Onshape drawings on a tablet, bringing you one step closer to going paperless.
Drawing Review
Drawing review is the last stage in a design’s journey. Before a product is released to production, it is critical to make sure that all dimensions are correct, tolerances are properly applied to precision parts, manufacturing notes are in place, and title blocks are verified.
Traditionally, redlining is mainly done on printouts. It feels natural to put your thoughts and freehand sketches down on a piece of paper. Over the years there have been various attempts to mimic this with different levels of success. As the complexity of engineering activities multiplies, challenges and burdens remain high on the infrastructure and connectivity.
Mobile Interface
Onshape provides a superb redlining experience with its native app, which is tailor-made for tablets. This does not involve an intensive implementation phase or a lot of training. Anyone can start reviewing drawings on a tablet with a stylus.
Once you sign in to your Onshape account, you will see the familiar Documents page and filter menu, just like the desktop version. You can search for the drawing by typing out the drawing number in the search field.
Action Items & Version Control
Chances are that your colleague has already tagged you or assigned the review task to you. In that case, go to the Action items panel to review the action.
TECH TIP: Assigning Tasks in Comments
Every Document has a built-in History and version graph that automatically records every step/action. When your colleague has completed the drafting work and feels that it is time for peer checking, it is best to create a version as a point of reference for all parties. As a reviewer, you can instantly locate the right version to check, instead of shuffling through a pile of printouts.
Comment Tool & Create Markup
Use the comment tool to create a screenshot. From there, you can start the redlining process with the stylus. This feels like writing on paper rather than using a mouse to annotate.
After you finish redlining, tap Done at the top right corner to save it in the version comment. You can even hand write in the comment field. Tap Resolve to indicate the completion of the task. It is time for your colleague to amend the drawings accordingly.
This Tech Tip helped you explore Onshape’s mobile interface and how you can review drawings on a mobile device. Watch the video below for more:
For additional learning materials, explore our training courses and videos on using Onshape on mobile in Onshape Self-Paced Courses.
Interested in learning more Onshape Tech Tips? You can review the most recent technical blogs here.
Onshape on YouTube
Subscribe to our channel to stay up-to-date on new product releases, Onshape Tech Tips, and more!
Latest Content
- Blog
- Becoming an Expert
- Assemblies
Built to Scale: Why Large Assemblies Don’t Slow Down in Onshape
07.16.2026 learn more- Blog
- News from Onshape @ PTC
- Artificial Intelligence
Onshape Labs: AI in CAD Guided by Designers, Driven by Innovation
07.15.2026 learn more- Blog
- Evaluating Onshape
- Data Management
- Collaboration
- Artificial Intelligence
How the Most Underrated CAD Feature Improves Design Workflows
07.09.2026 learn more