
1:11
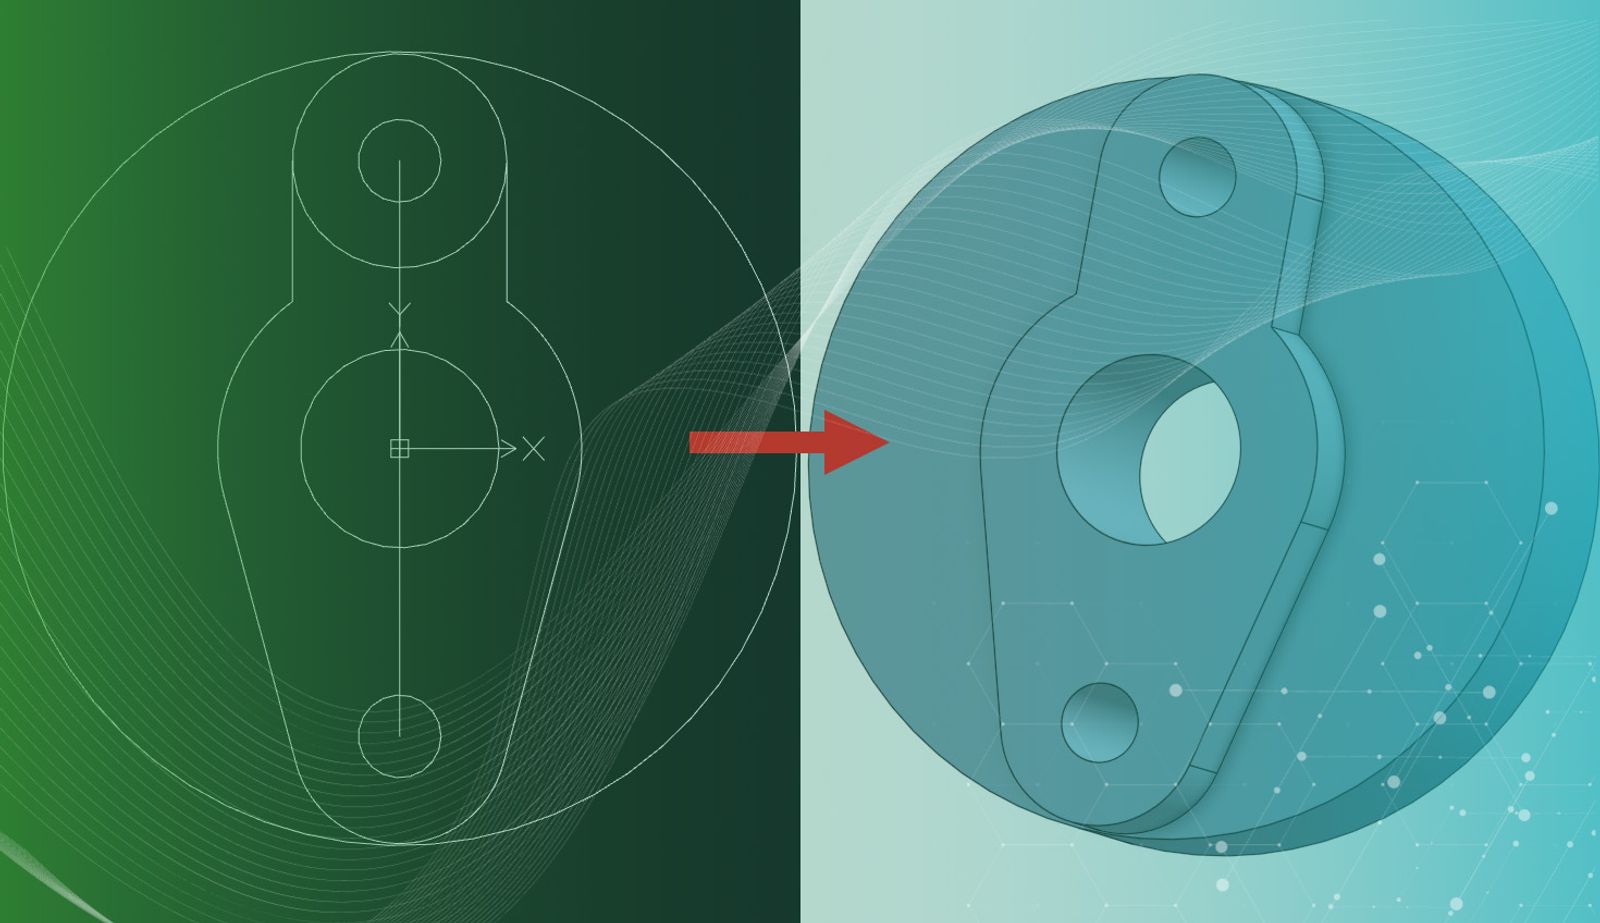
A common scenario I’ve seen when working with Onshape users is that they’ll get a 2D DXF or DWG of a part from a third party, but they need a 3D version of it.
Not to fret, imported 2D geometry can easily be brought into Onshape Part Studios and turned into a 3D part.
There was a previous Onshape Tech Tip created focusing on importing DXF, which can be found in our Tech Tip archive. Today’s Tech Tip focuses on what happens after you’ve brought your DXF data into Onshape.
Using the Insert DXF or DWG Tool
After importing your data, utilize the Insert DXF or DWG tool inside the Sketch dialogue to insert your 2D data. It is important to remember when importing 2D data that you select the same unit system that the DXF/DWG was created with or your scaling will be incorrect.
Once the sketch geometry has been inserted, you can make any changes you may want to the lines inside the sketch. After the sketch has been completed, you can utilize 3D tools, like Extrude, to easily create a 3D representation of the data that you’re working with.
Want to learn more about working with DXF or DWG? Check out our Help Center content on it! Or watch the video below for a quick visual lesson.
You can also review the most recent technical blogs here.
Latest Content
- Blog
- Becoming an Expert
- Assemblies
Built to Scale: Why Large Assemblies Don’t Slow Down in Onshape
07.16.2026 learn more- Blog
- News from Onshape @ PTC
- Artificial Intelligence
Onshape Labs: AI in CAD Guided by Designers, Driven by Innovation
07.15.2026 learn more- Blog
- Evaluating Onshape
- Data Management
- Collaboration
- Artificial Intelligence
How the Most Underrated CAD Feature Improves Design Workflows
07.09.2026 learn more