
03:39
Every CAD user fears the moment an update or import causes a chain reaction of errors, halting work for painstaking, manual repair and frustrating guesswork to find lost faces or edges.
The Onshape Repair tool keeps those worries at bay. Onshape, a cloud-native, database-driven platform, maintains your complete design history. This allows the Repair tool to display a healthy model alongside the broken one, so you can see exactly which references are missing and select replacements, turning hours of rework into a moment of quick corrections.
What is the Repair Tool?
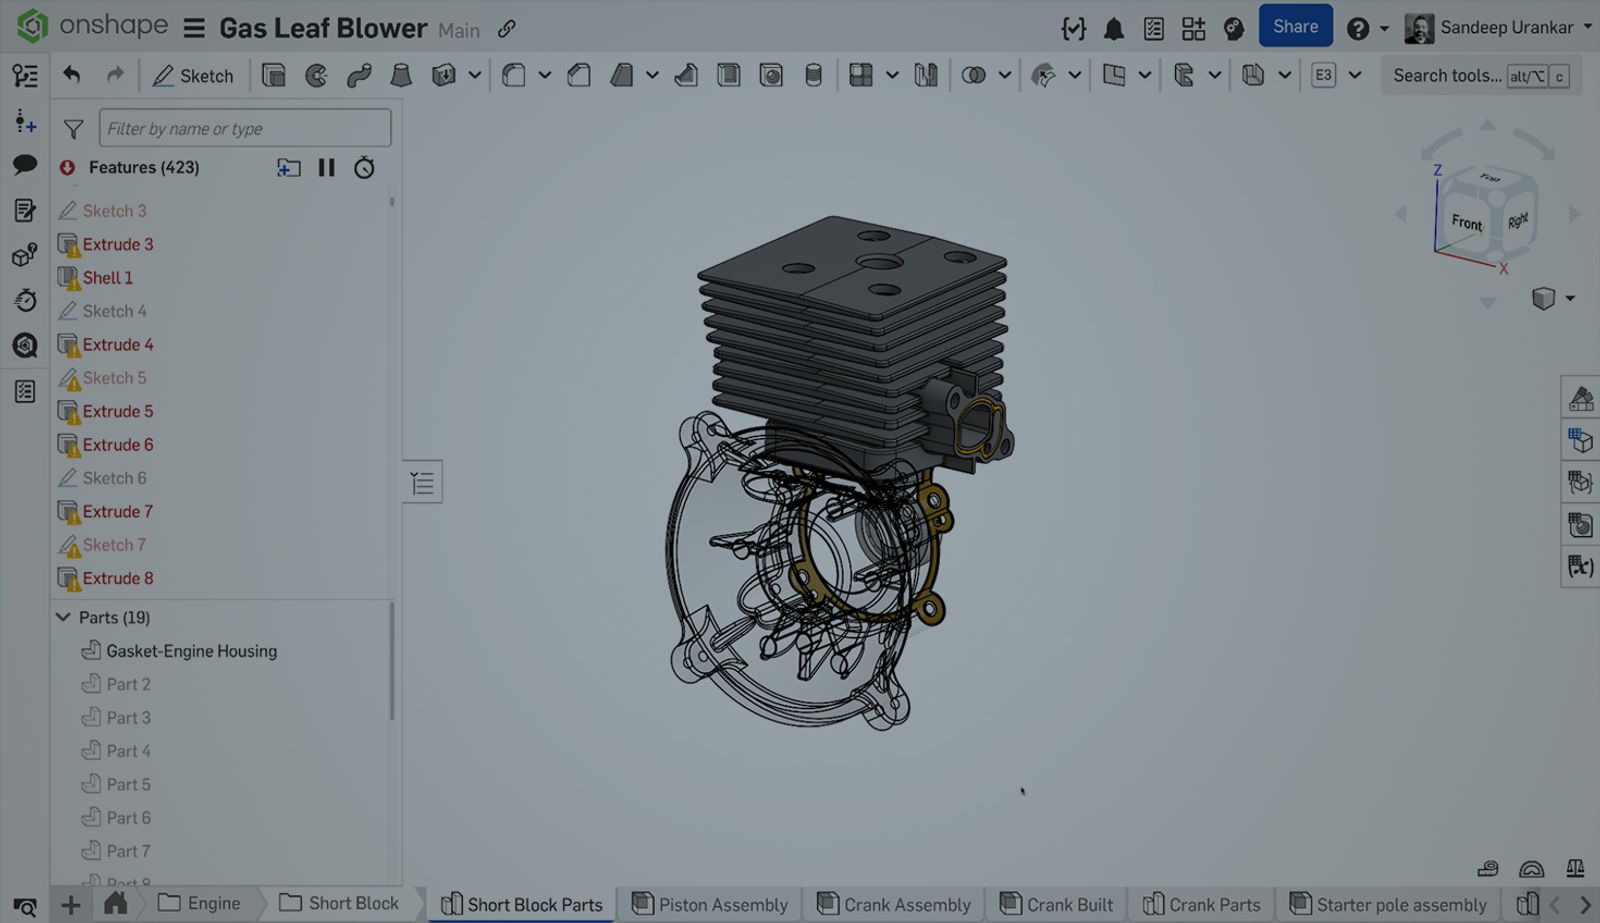
The Onshape Repair Tool, accessed via the View in Repair mode, is a dual-screen debug console designed to fix parametric errors within a Part Studio.
This interface synchronizes two views:
- Left Screen (Active/Editable): The current Part Studio with broken features.
- Right Screen (Historical/Read-Only): A visual reference of the model's geometry at the exact moment it was last known to be healthy, retrieved by Onshape.
The tool's utility lies in its fully navigable, synchronized 3D historical view. By default, both the broken model (left) and the healthy model (right) are synchronized for panning, zooming, and rotation, along with mirrored rollback bars.
Accurate selection and replacement during the repair process rely critically on this direct comparison between the broken geometry and its original, intended state.
Tech Tip: How to Restore Your Onshape Design After Unwanted Changes
Two Ways to Access the Repair Tool
The Onshape Repair functionality is designed for flexible access, allowing you to jump into the View in Repair mode either by referencing a known historical state or by targeting a specific failing feature.
Method 1: From the Versions and History Panel
This approach is ideal when you know the model was healthy at a certain point in time, and you want to use that specific state as your reference.
- Best for: When you know exactly when the model broke (e.g., right before a specific import or major edit).
- How to Use: Open the Versions and History panel from the lower-left corner of the Part Studio. Locate and right-click a history entry (or a Version) that you know represents a healthy state of the model. Select View in Repair from the context menu. This action immediately loads the chosen historical state into the right (read-only) pane.
Method 2: From the Feature List
This is the most common and fastest way to initiate a repair, automatically finding the most recent healthy moment for the failing feature you're targeting.
- Best for: Fixing a specific red feature without hunting through the design history.
- How to Use: In the Feature List, right-click the failing feature. Alternatively, double-click the feature to edit it, then right-click the red reference in the feature dialog. Select Edit healthy moment. Onshape instantly calculates the last known state where that specific feature successfully resolved its references and displays it in the right pane. This contextual access saves significant time by pinpointing the precise moment of failure.
The "Killer Feature": Replace Reference
Onshape's Replace Reference functionality transforms broken parametric link management. Unlike traditional CAD, where a lost geometry reference requires manually reselecting geometry in every subsequent dependent feature, Onshape simplifies the process:
- Isolate: Right-click the failed feature and select Edit healthy moment.
- Cross-Highlight: Hover over the broken reference; the original geometry highlights in the historical view, eliminating guesswork.
- Replace: Use the Replace Reference button to select the correct replacement geometry on the active model.
- Propagate: Crucially, enable the "Propagate changes" checkbox.
This single replacement intelligently pushes the fix forward, repairing all features dependent on the original reference.
CAD Repair the Cloud-Native Way
The Onshape Repair tool rethinks how CAD users address modeling errors. It offers exceptional speed and precision by capitalizing on the platform's ability to capture complete design history, enabling users to view a healthy prior version of the model simultaneously with the problematic one. Specifically, the "Replace Reference" feature, especially when combined with the "Propagate changes" option, transforms what used to be a laborious, manual correction process spanning hours into a rapid, smart fix.
Give it a try!
The Onshape Discovery Program
Learn how qualified CAD professionals can get Onshape Professional for up to 6 months – at no cost!
Latest Content
- Blog
- Becoming an Expert
- Assemblies
Built to Scale: Why Large Assemblies Don’t Slow Down in Onshape
07.16.2026 learn more- Blog
- News from Onshape @ PTC
- Artificial Intelligence
Onshape Labs: AI in CAD Guided by Designers, Driven by Innovation
07.15.2026 learn more- Blog
- Evaluating Onshape
- Data Management
- Collaboration
- Artificial Intelligence
How the Most Underrated CAD Feature Improves Design Workflows
07.09.2026 learn more